Manage the workspace basics on the Settings page: rename the workspace, change its sector, see how a phone number gets attached, find the path from a demo to a paid business, and (for owners) delete the workspace.
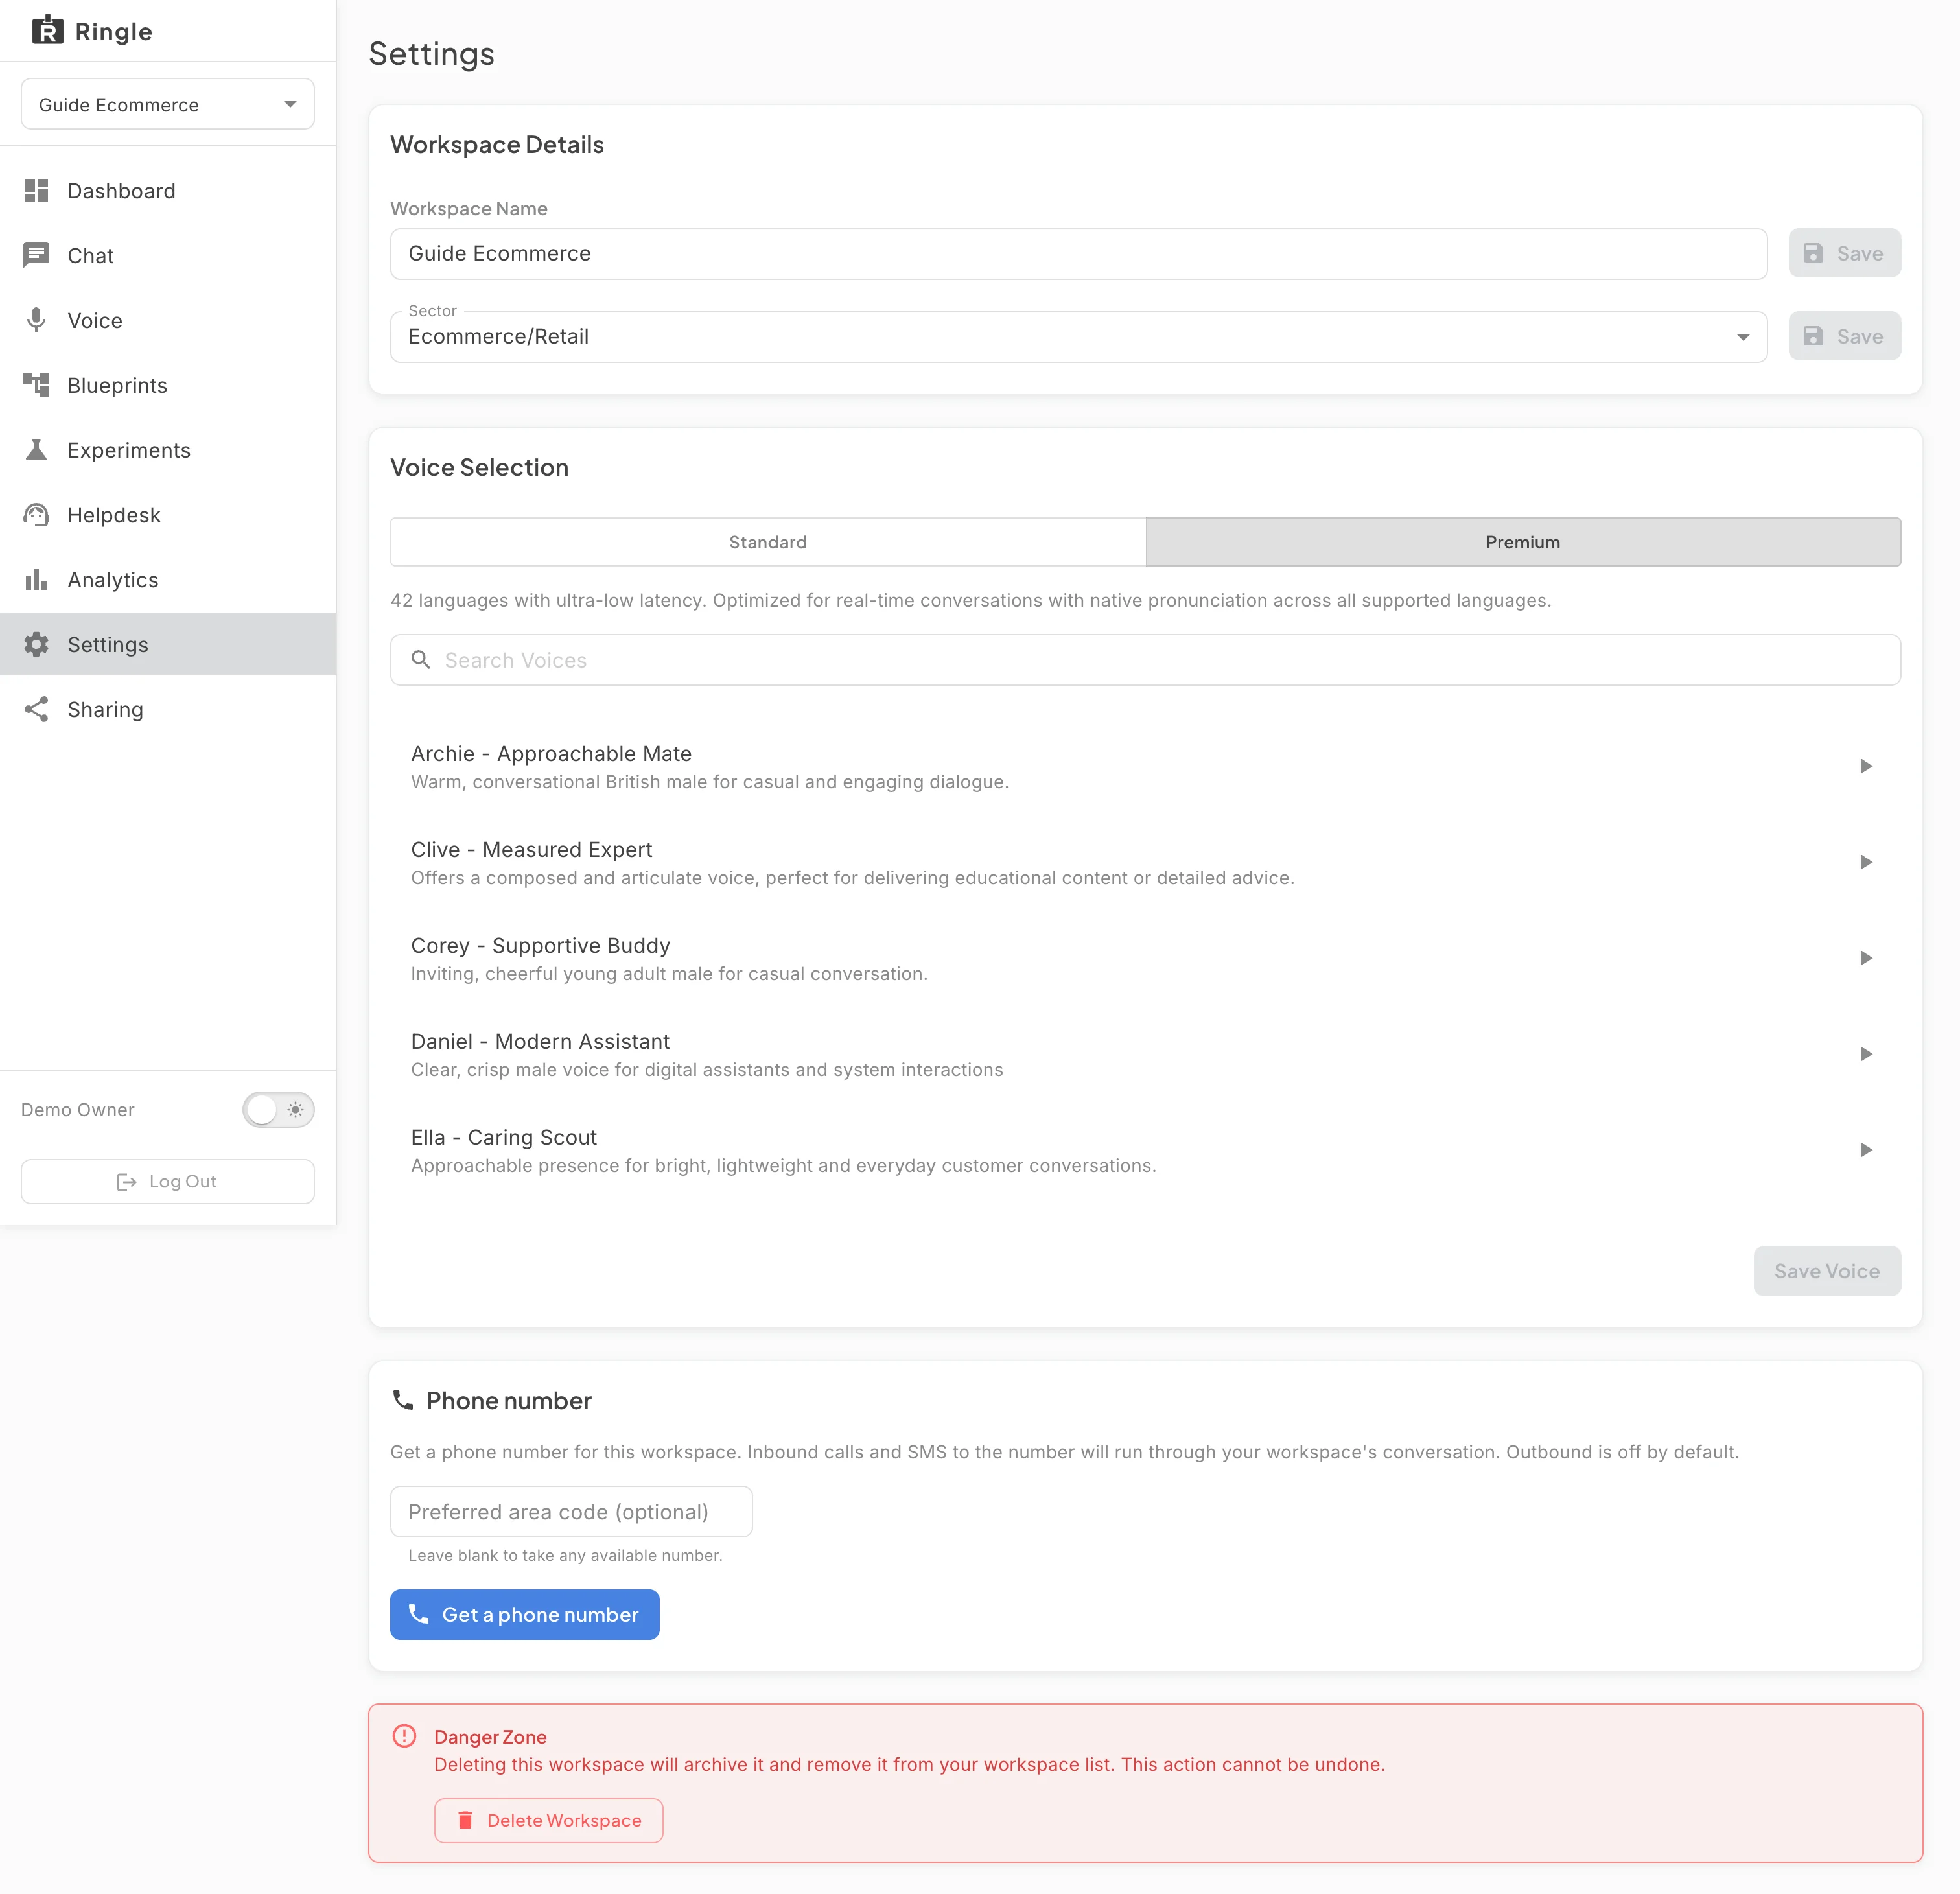
Action: Click Settings in the workspace sidebar.
What you should see: The page opens with a “Ready to go live?” card and its “Sign up for a plan” button, then Workspace Details with the Workspace Name field and the Sector selector, each with its own Save button that wakes up when the value changes. Below them sits the Voice Selection card described in the “Voice demo and voice selection” guide.
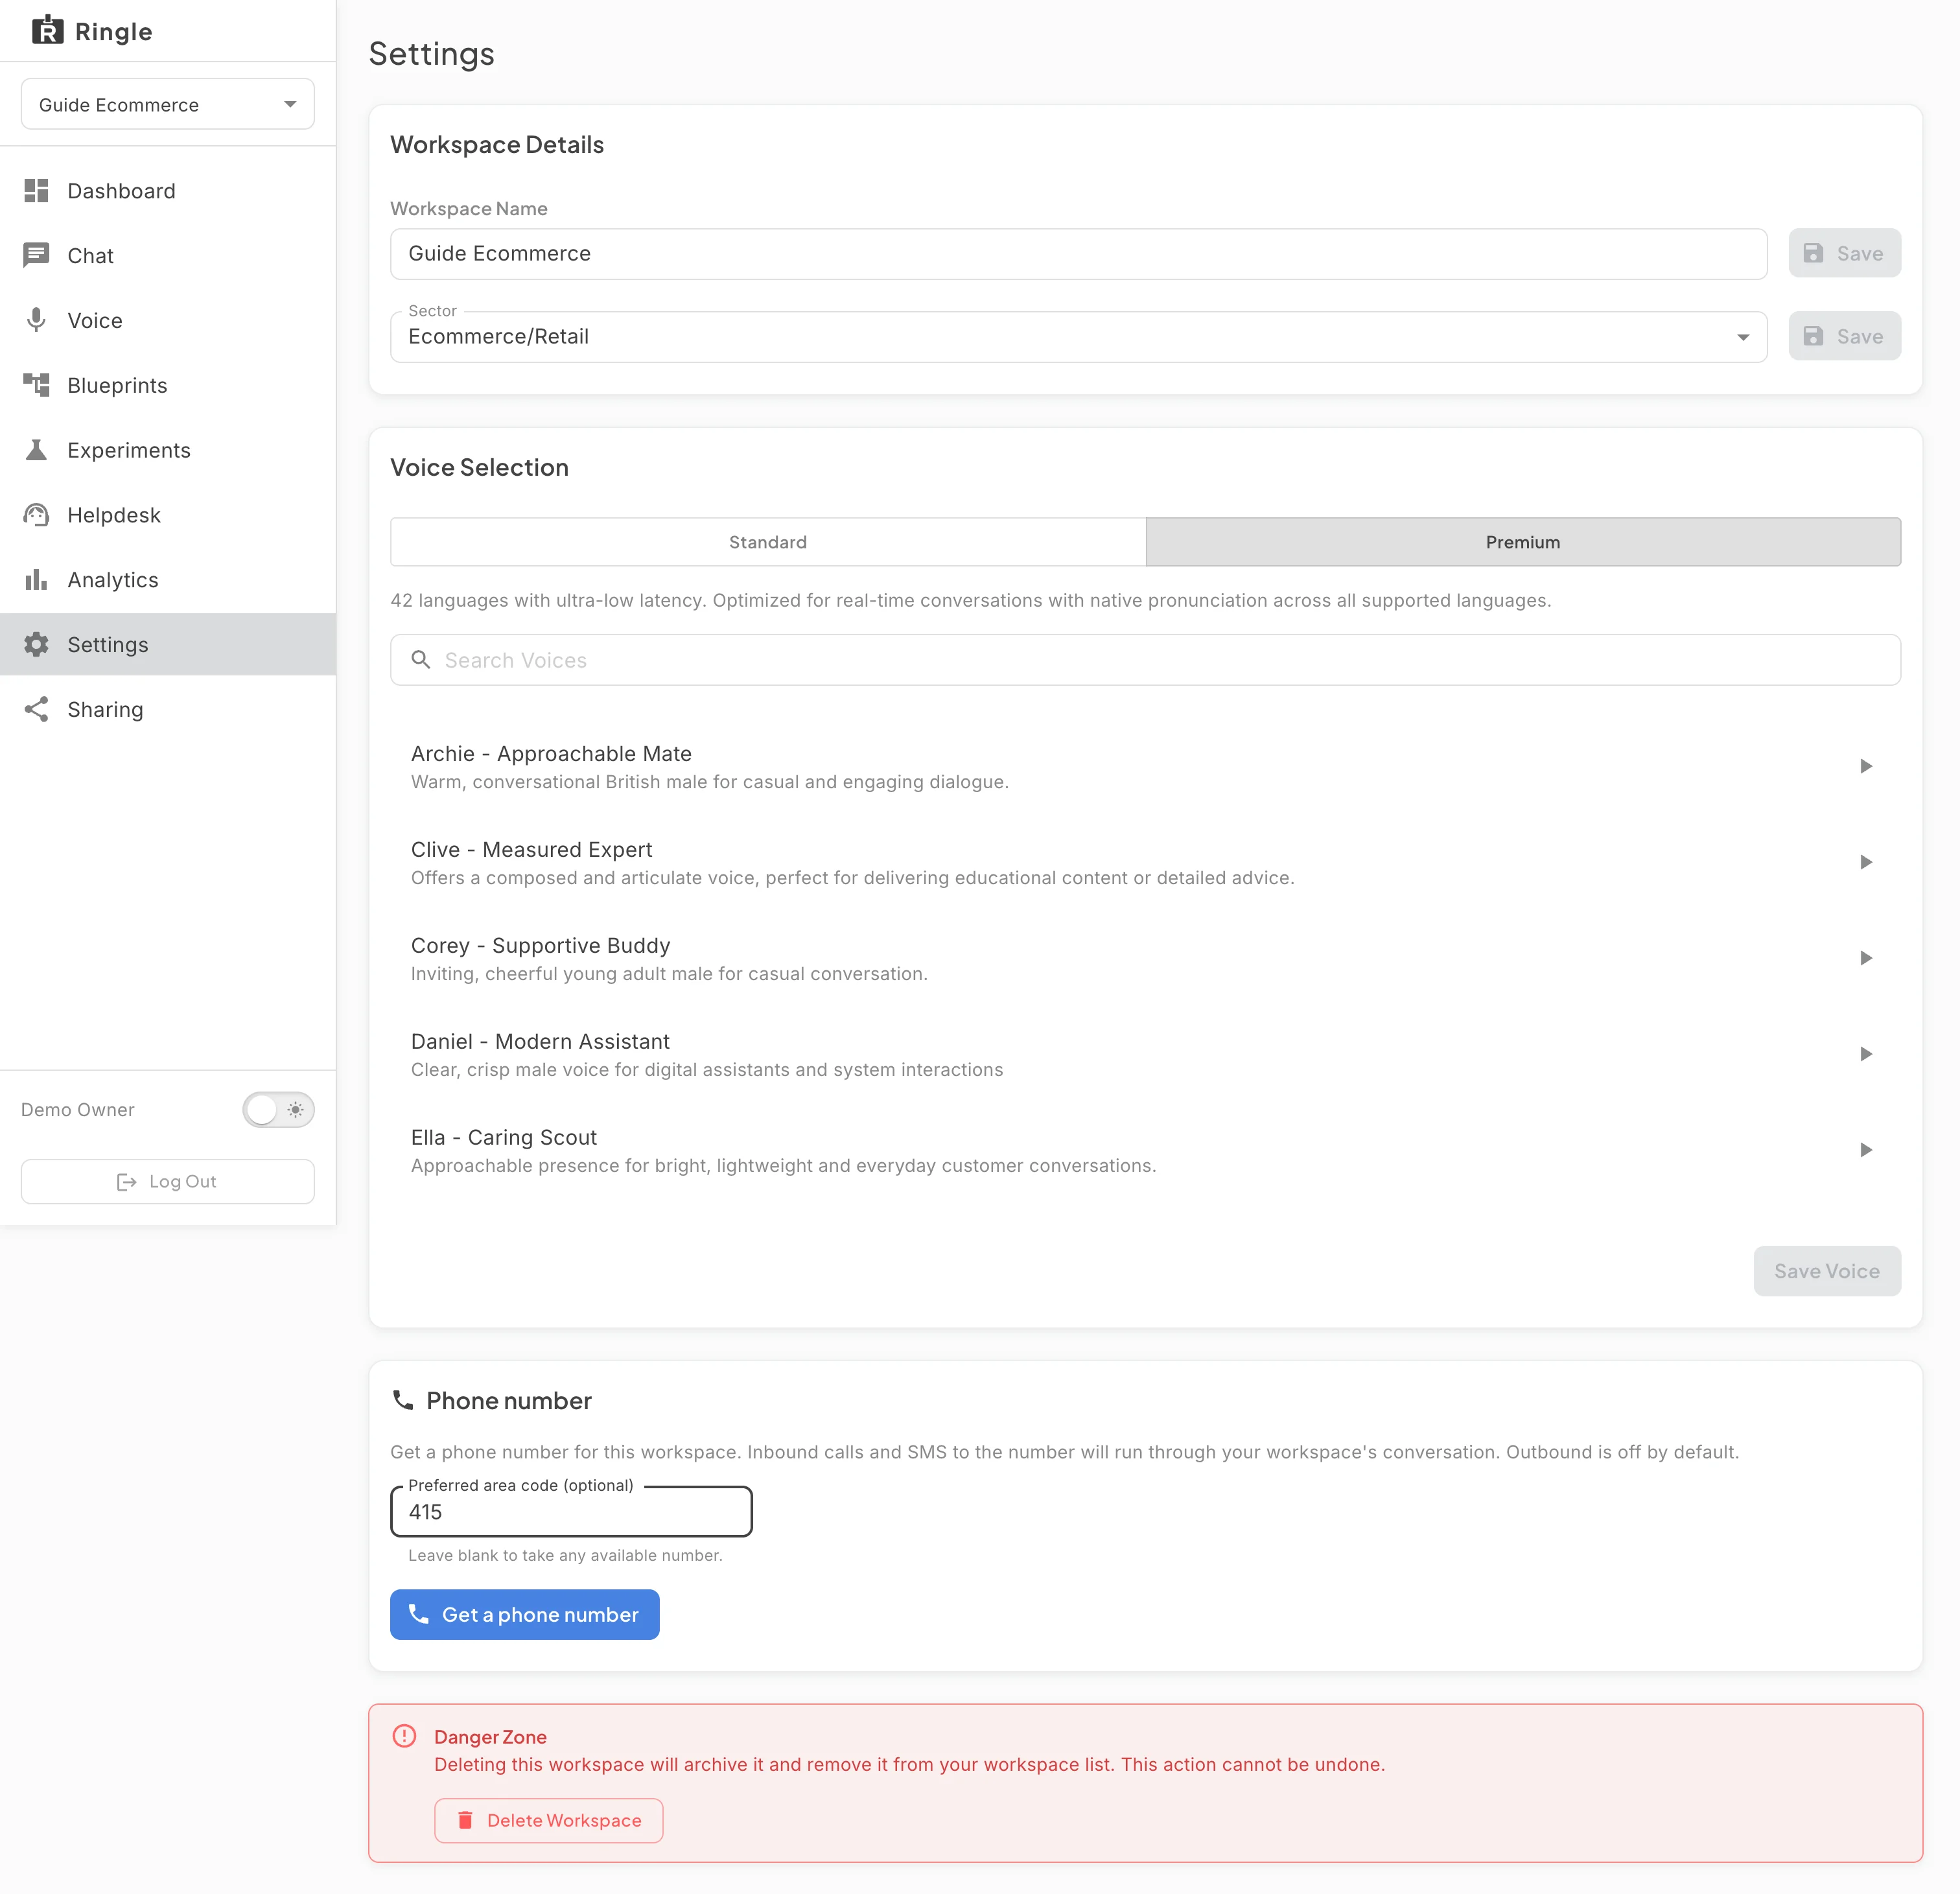
Action: Scroll to the Phone number card.
What you should see: The card explains that a phone number is attached by a teammate who holds the demo telephony role, once they are a member of this demo, and offers an Open Sharing button to invite them; a platform administrator can also attach one. Workspace members cannot claim a number themselves: numbers come from the platform’s pool and are attached by staff, after which callers reach the same assistant that answers in Chat and Voice.
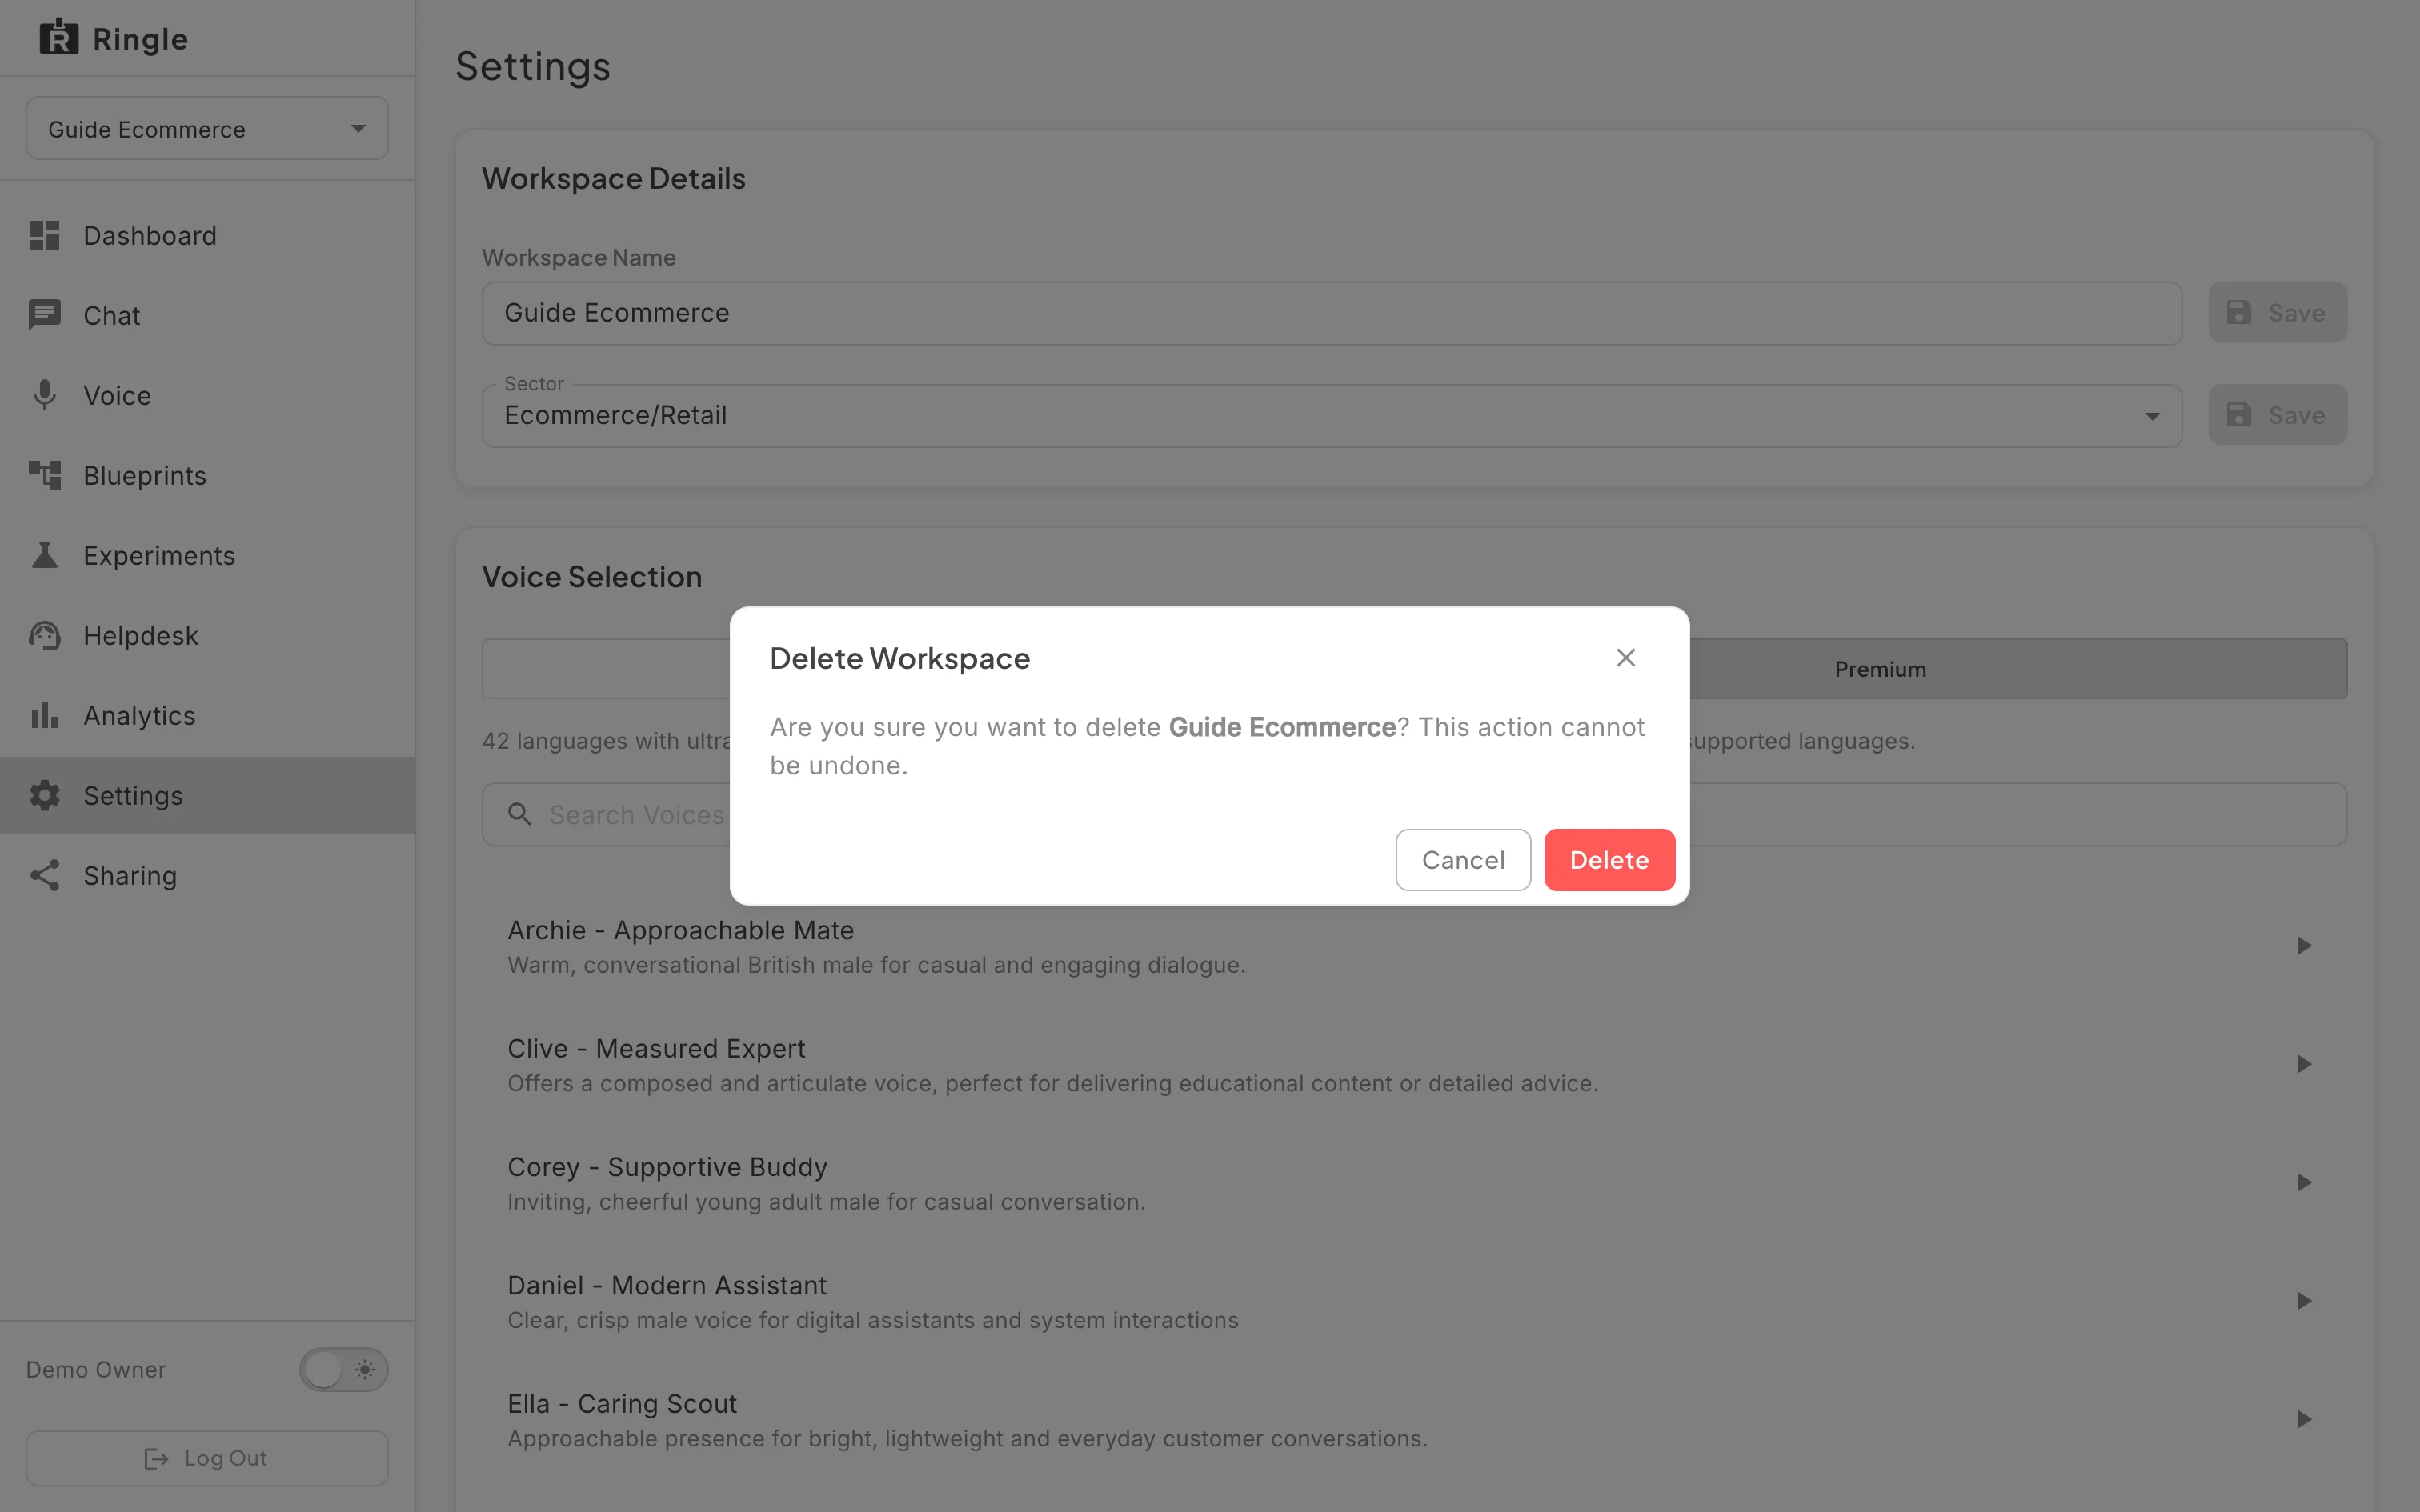
Action: Scroll to the Danger Zone and click Delete Workspace.
What you should see: A confirmation dialog explains that deleting archives the workspace and removes it from your list, and that this cannot be undone. Click Cancel to keep the workspace. Only the person who built the workspace sees the Danger Zone, so an Owner who joined by invitation does not.
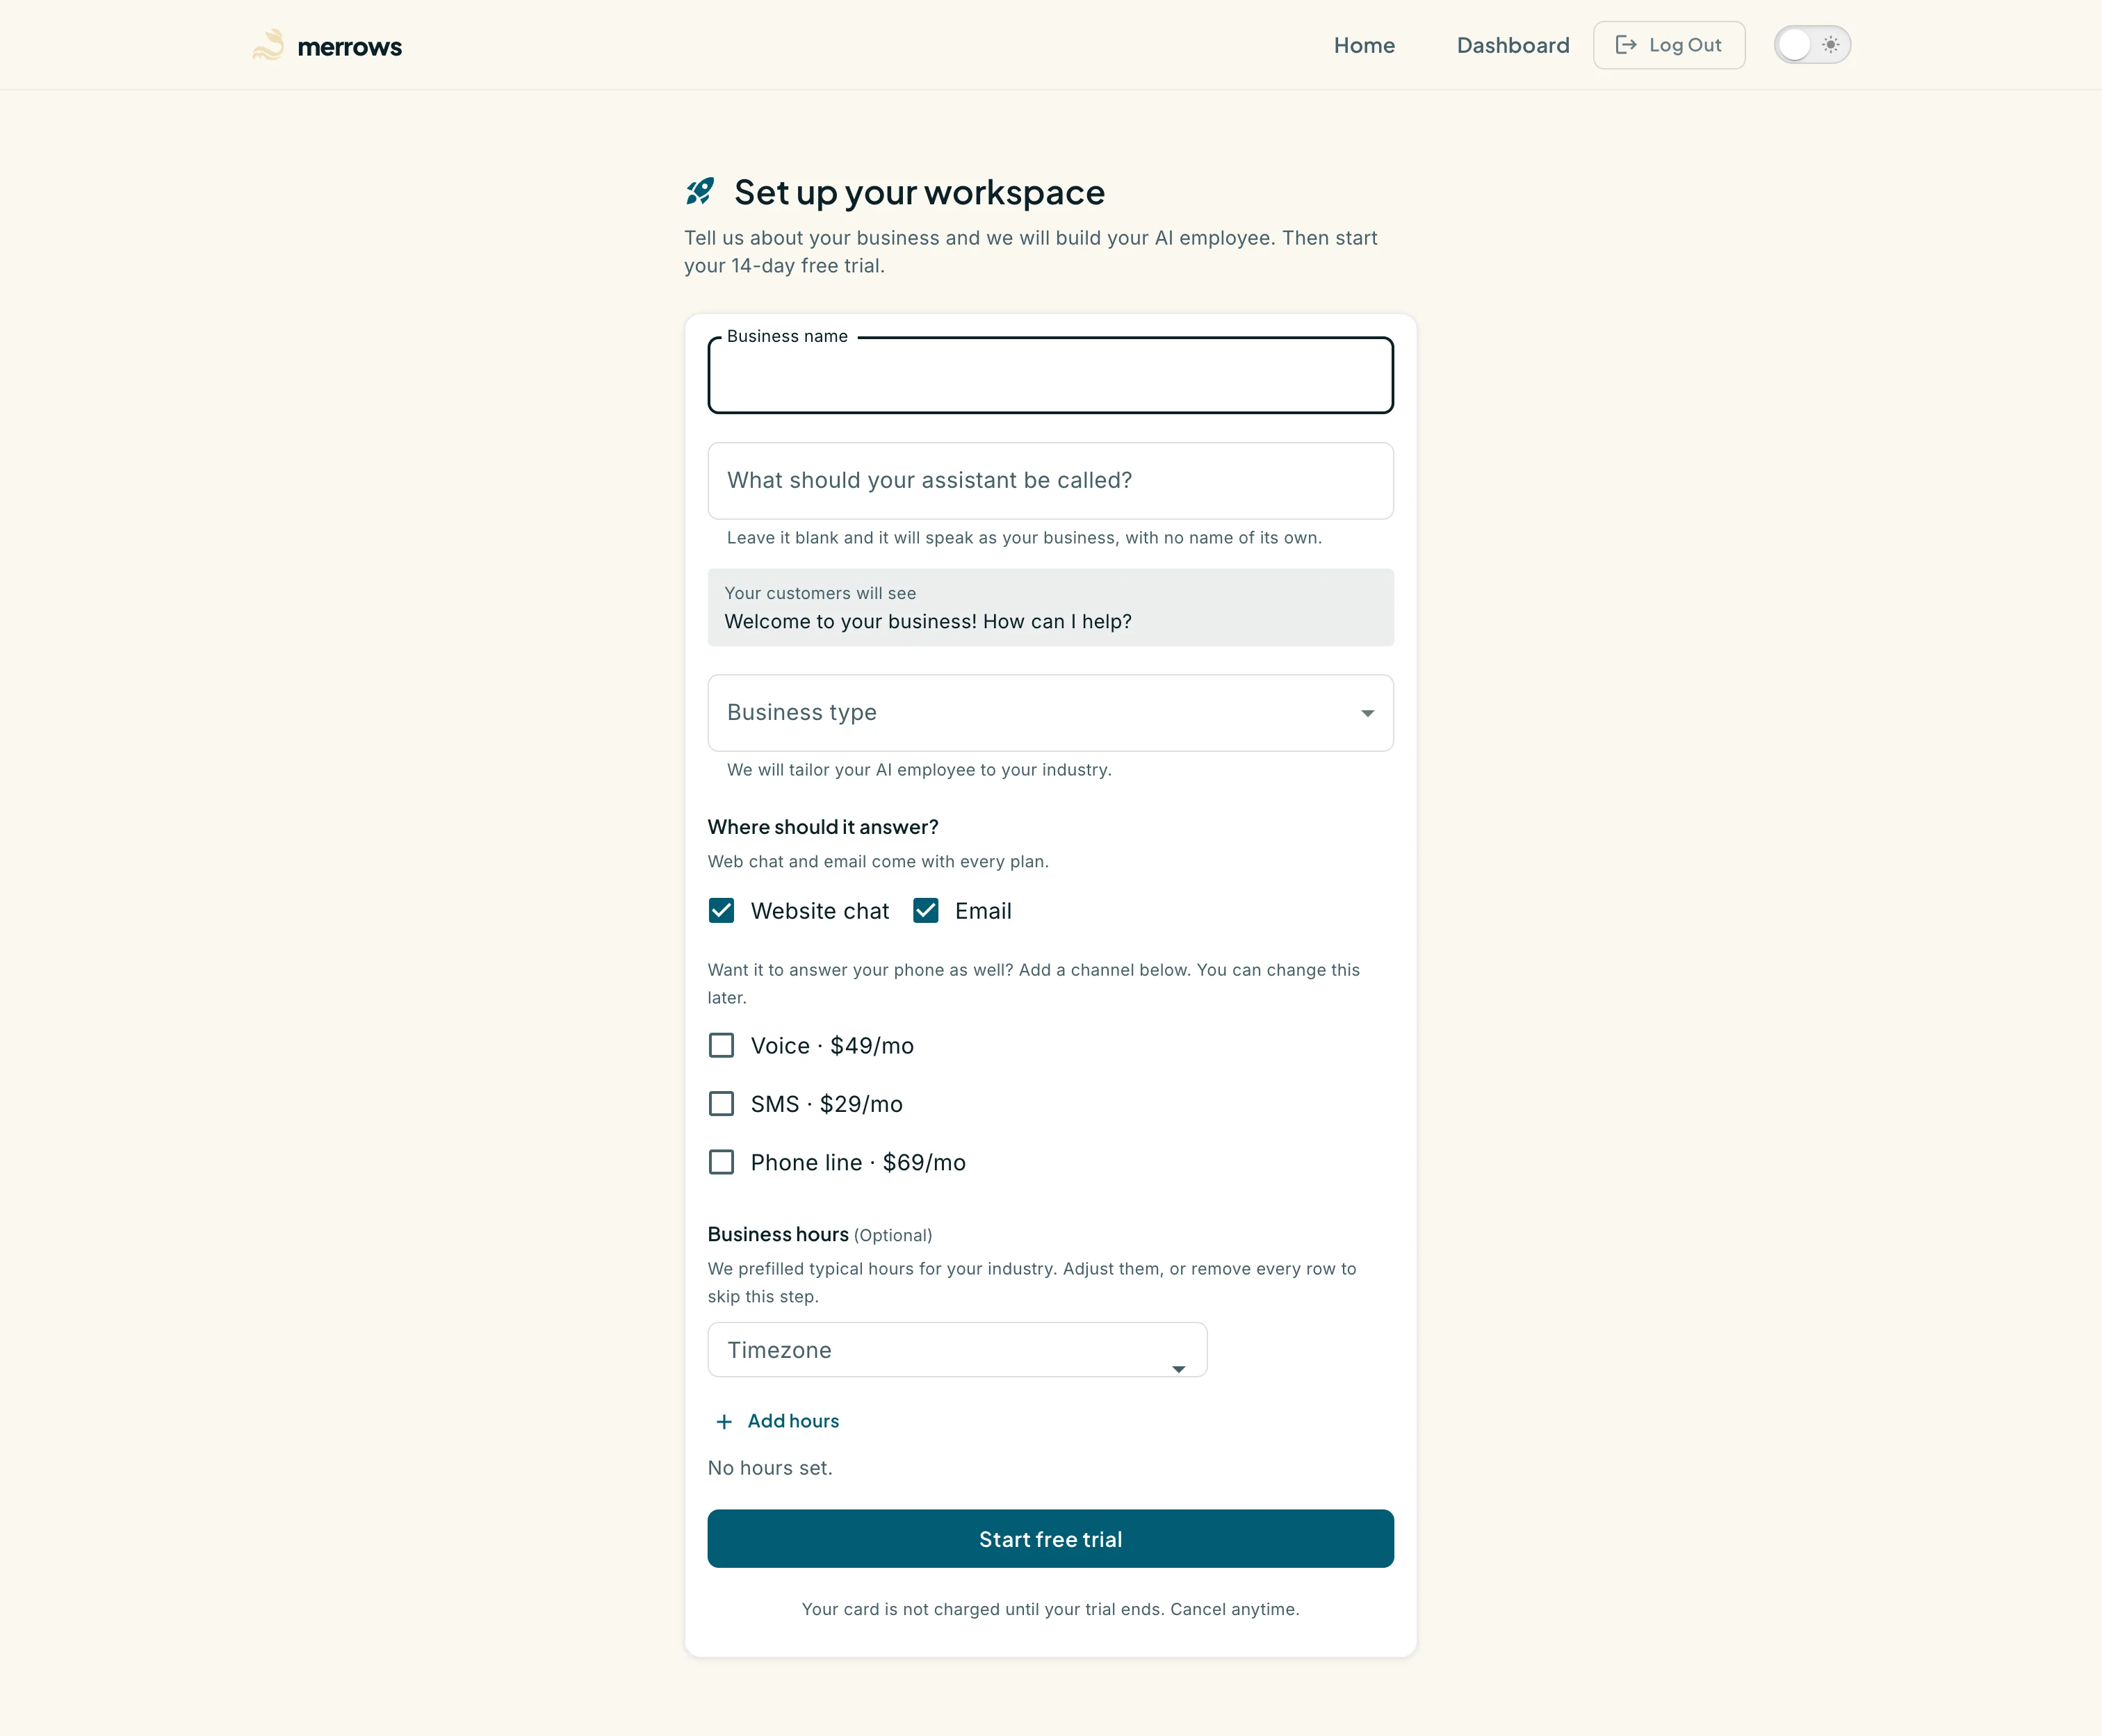
Action: Back at the top, read the “Ready to go live?” card. Click “Sign up for a plan” when you are ready to run the assistant for real customers.
What you should see: The button leads to the “Set up your workspace” page where a business is created on a free trial; the “Getting started on a trial” guide covers it. What you built in the demo (the catalogue, the skill set edits, the voice) stays in the demo workspace, which remains available beside the new business in the workspace switcher.