Change your password, turn multi-factor authentication (MFA) on or off, and review or end the devices signed in to your account.
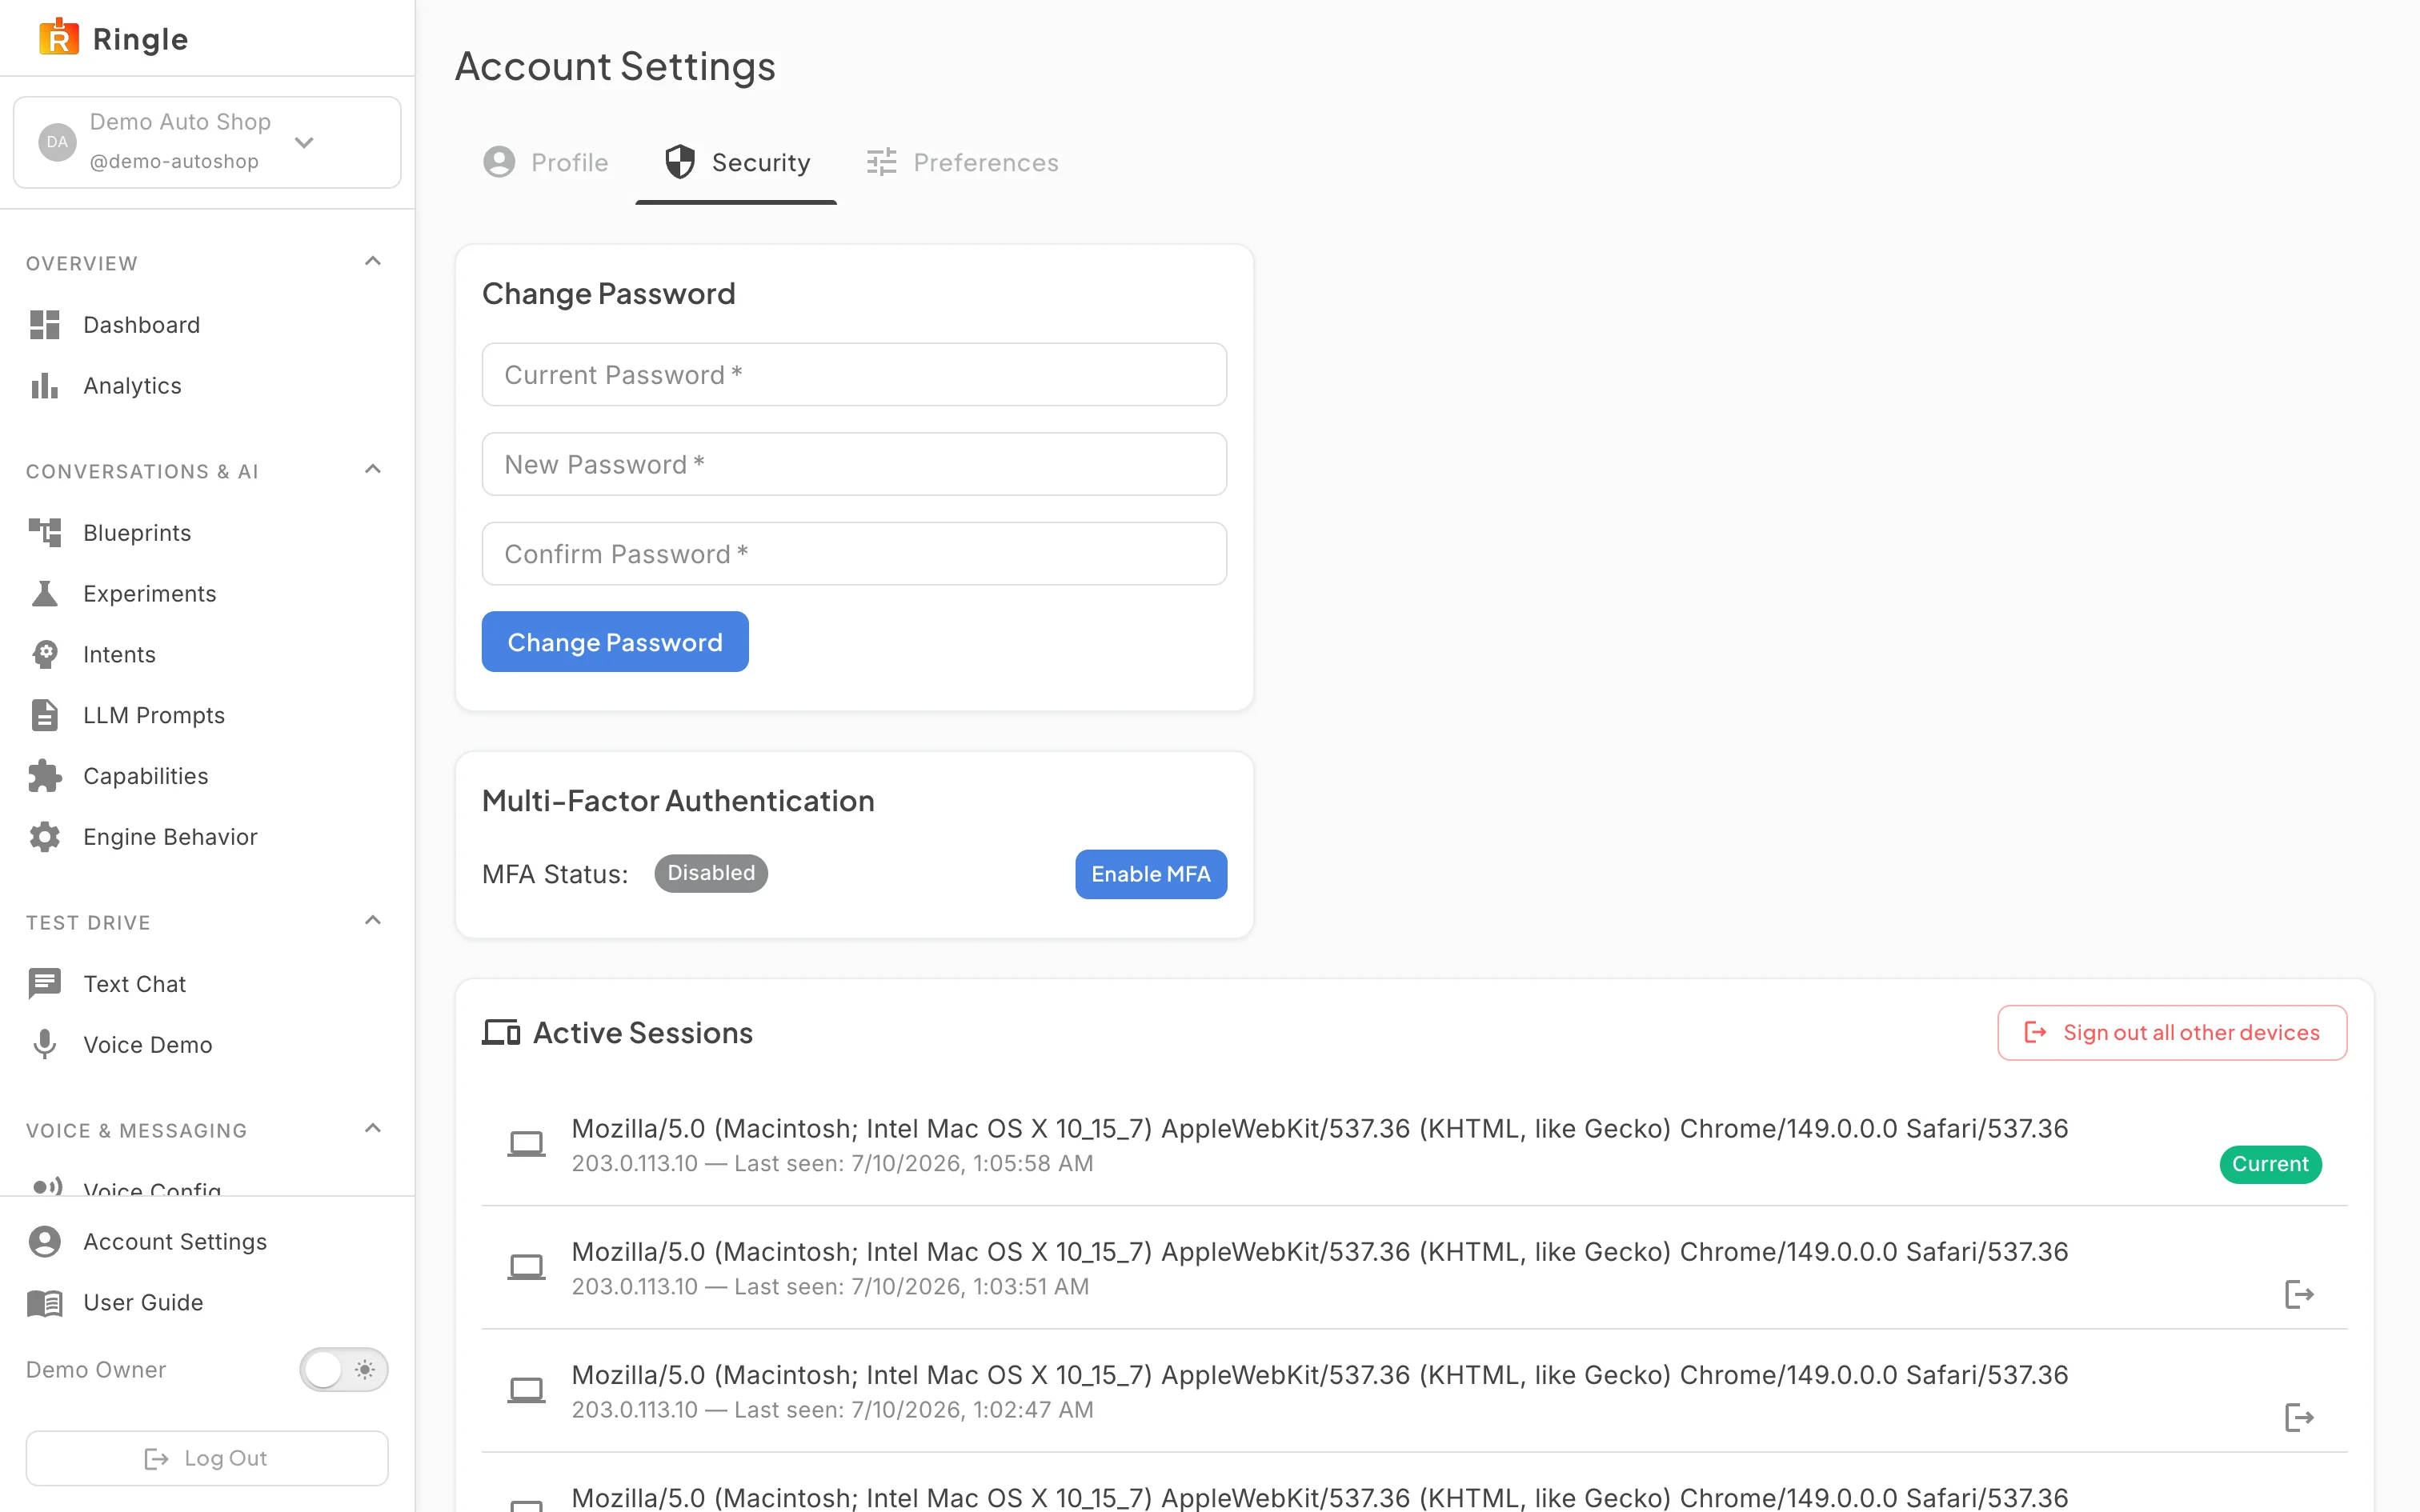
Action: Open Account Settings from the bottom of the sidebar and click the Security tab, or go to https://portal.merrows.ai/account/security.
What you should see: The tab shows three cards. Change Password has Current Password, New Password and Confirm Password fields with a Change Password button. Multi-Factor Authentication shows an MFA Status of Enabled or Disabled and a matching Enable MFA or Disable MFA button. Active Sessions lists each signed-in device with its browser, address and last activity, marks the current one, and offers “Sign out all other devices”.
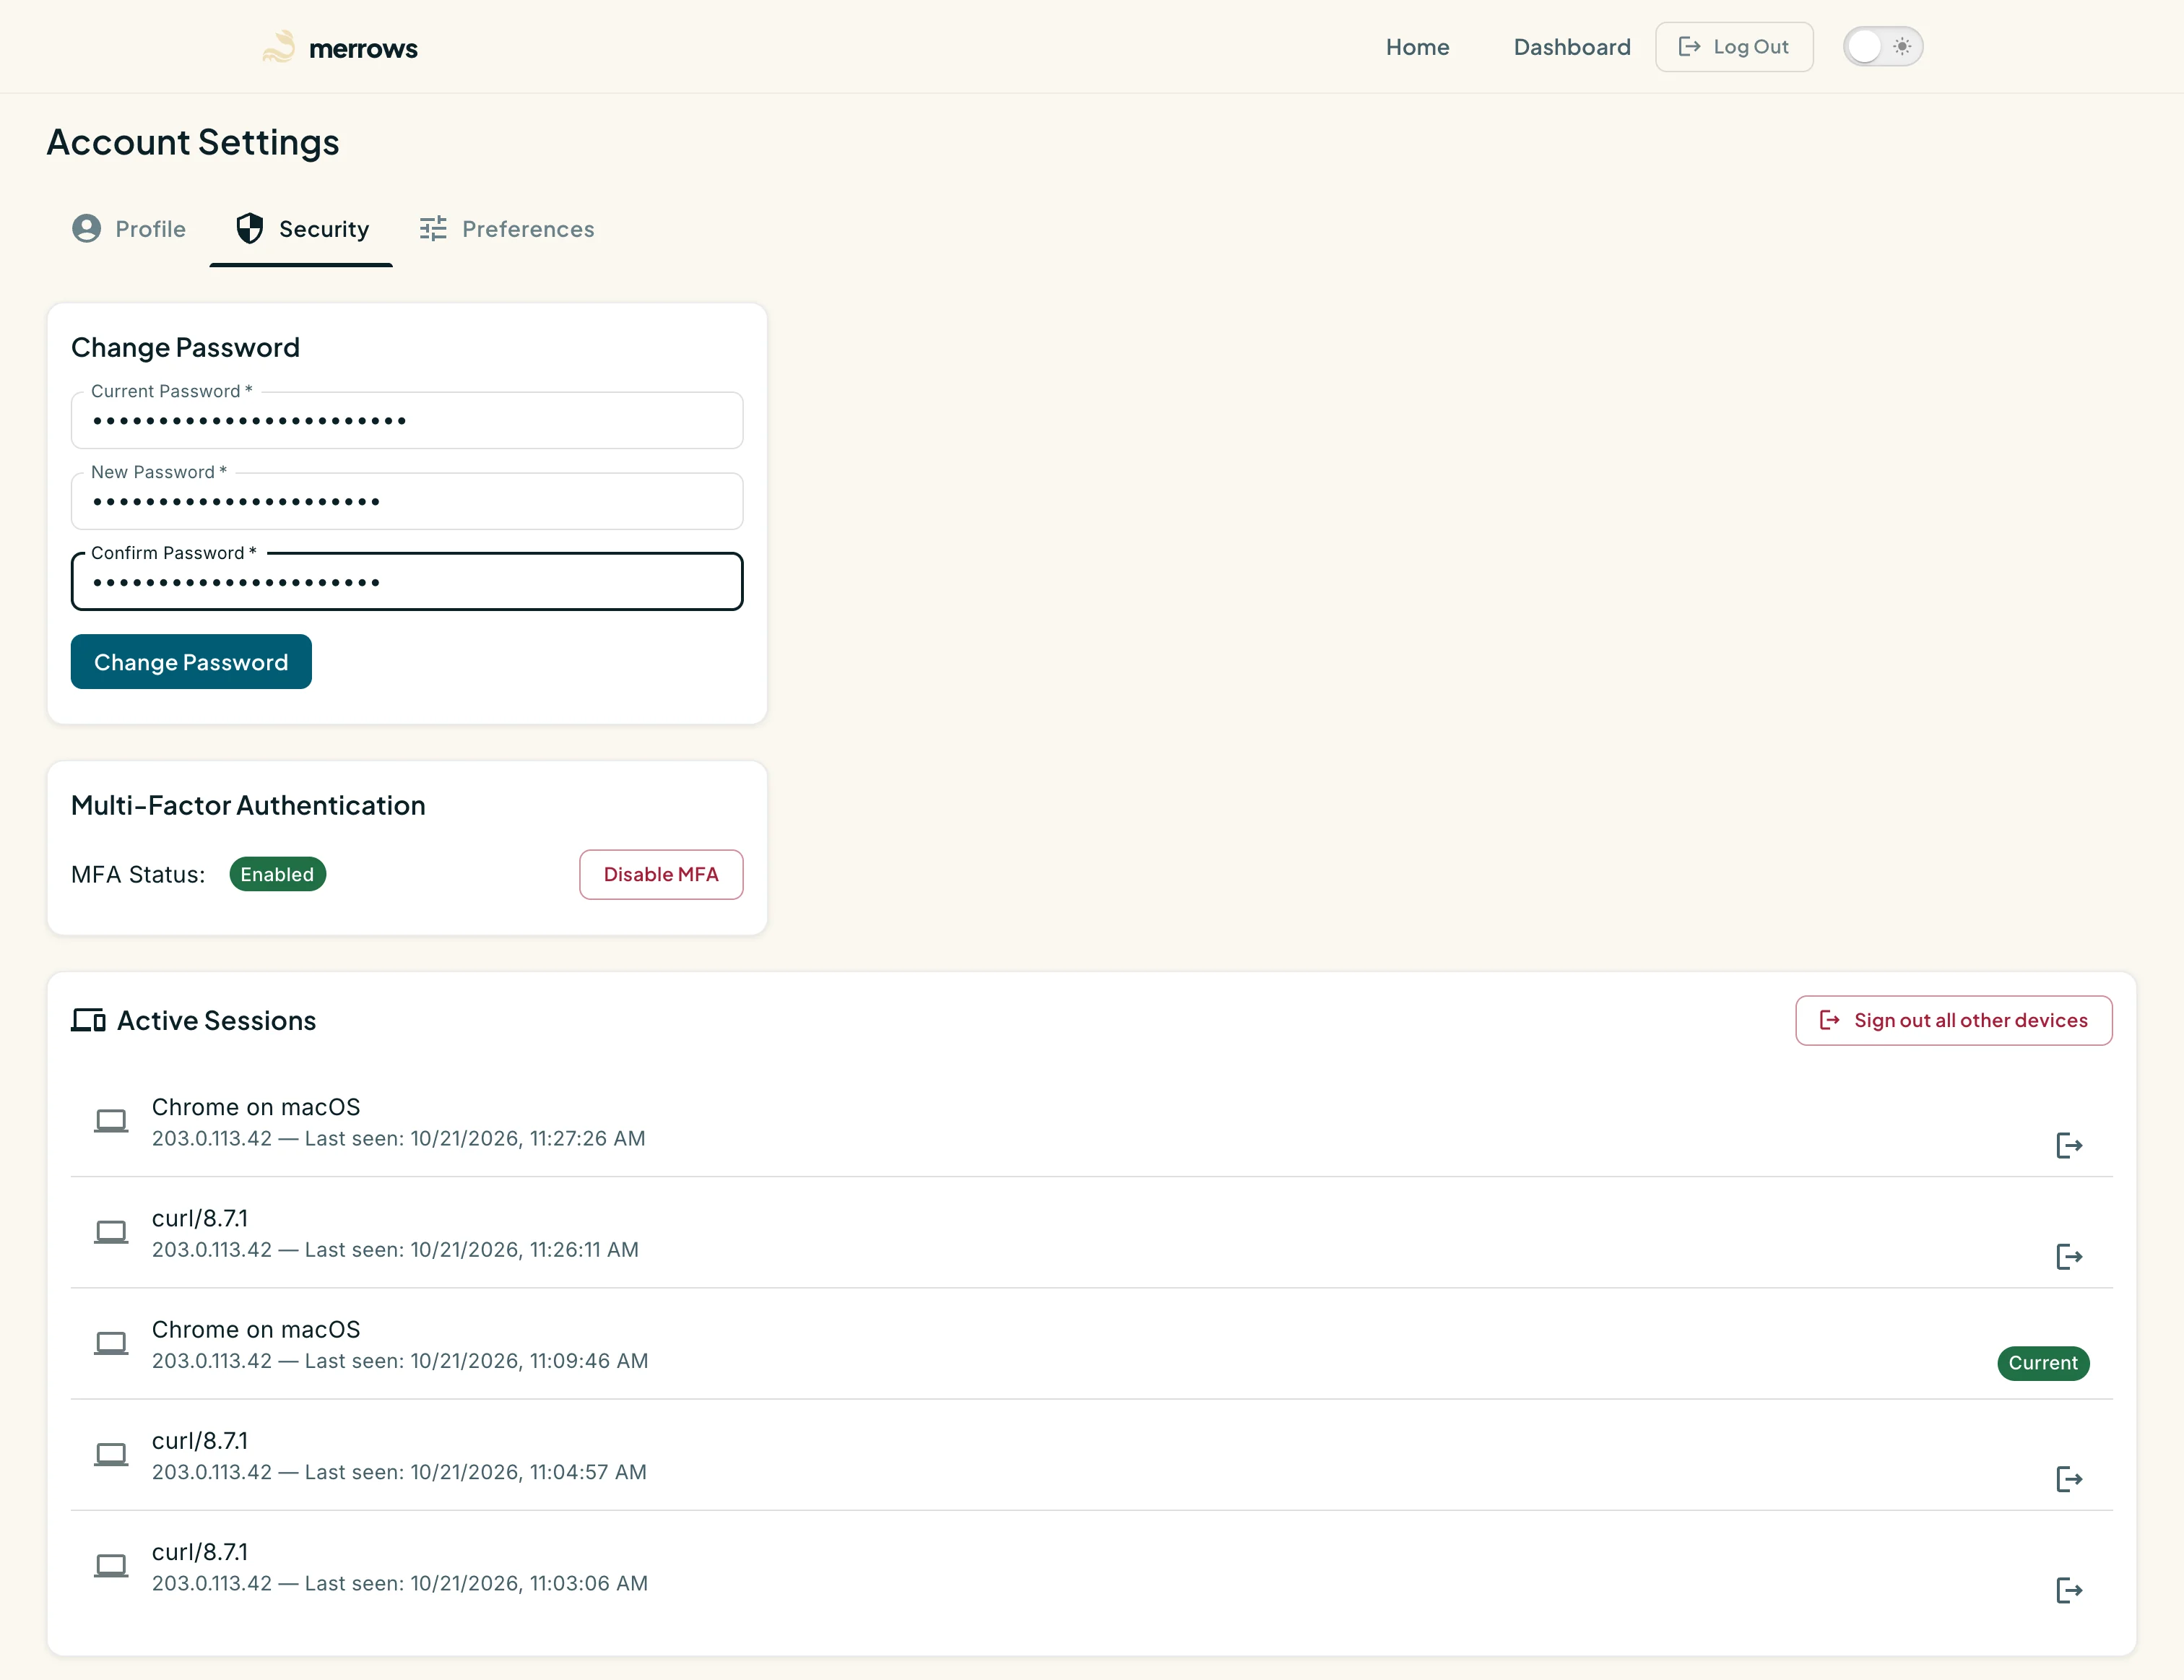
Action: To change your password, type the current one, then the new one twice, and click Change Password.
What you should see: The new password must meet the portal’s rules: at least twelve characters, no spaces, and at least three of upper case, lower case, a number and a special character. On success a confirmation appears and every other session on the account is signed out; the device you changed it from stays signed in. A wrong current password shows the server’s reason.
Action: With MFA on, click Disable MFA to see the confirmation.
What you should see: A dialog warns that sign-in will no longer ask for a second factor and asks you to confirm. Cancel leaves MFA on.
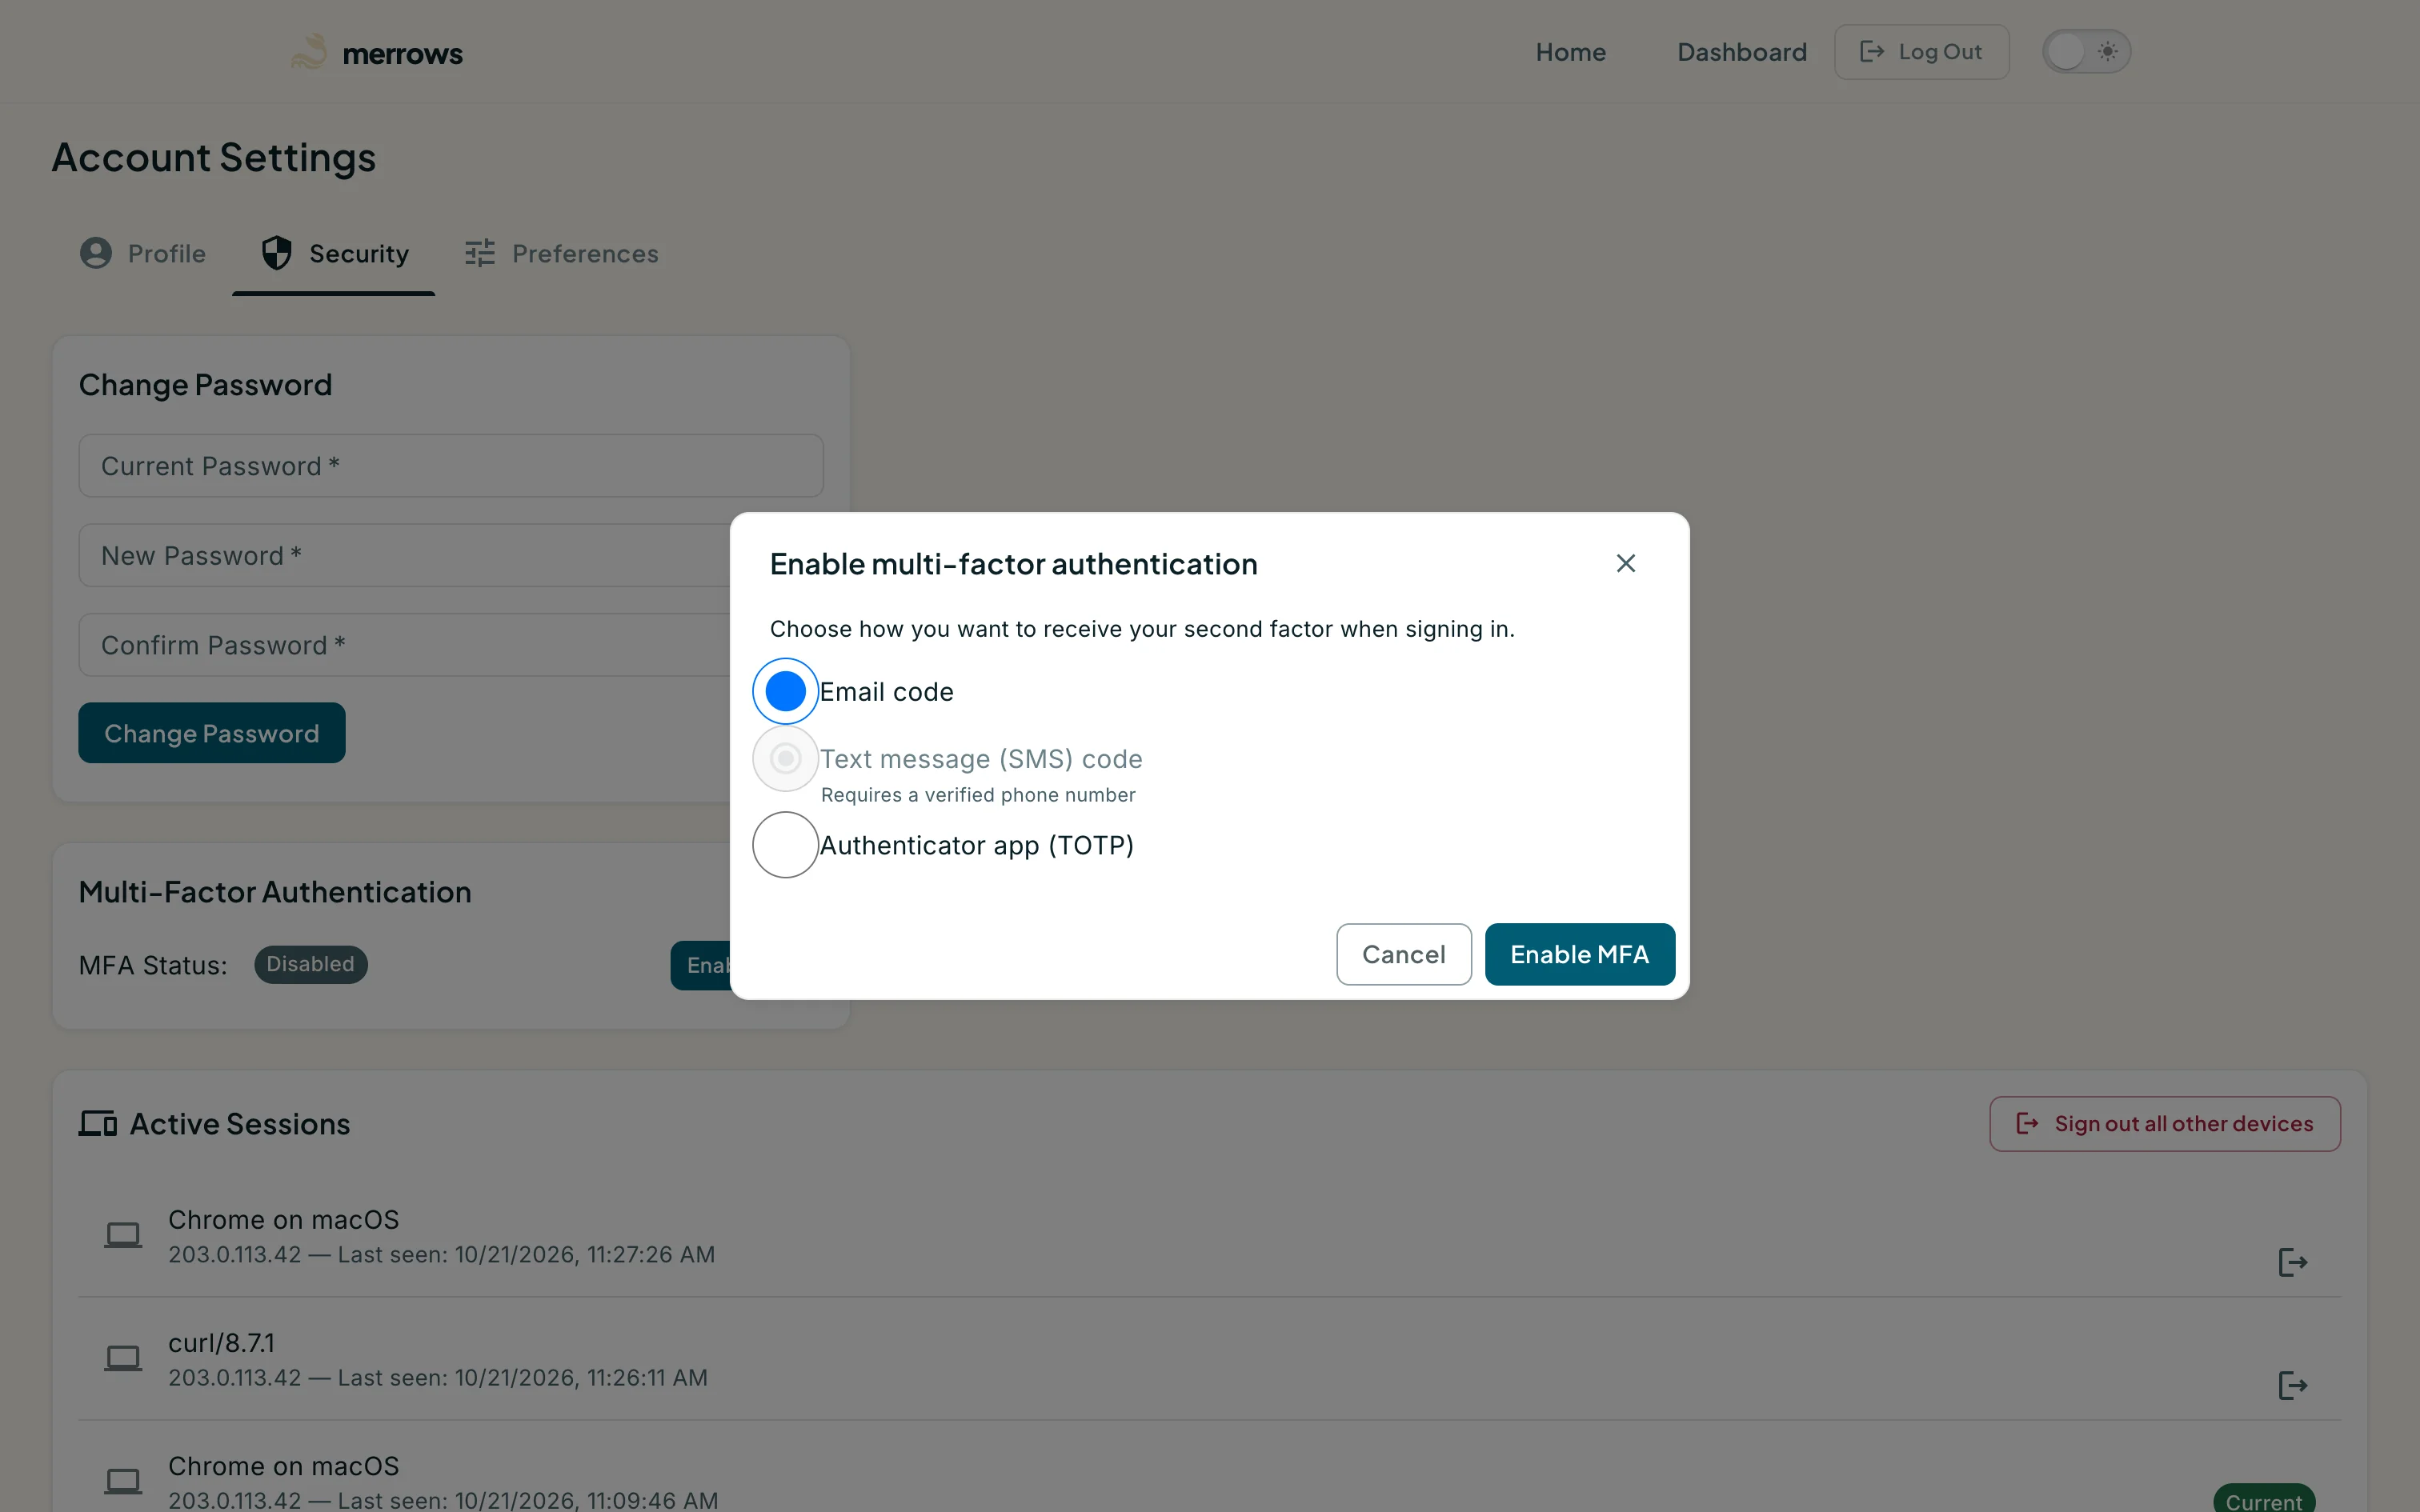
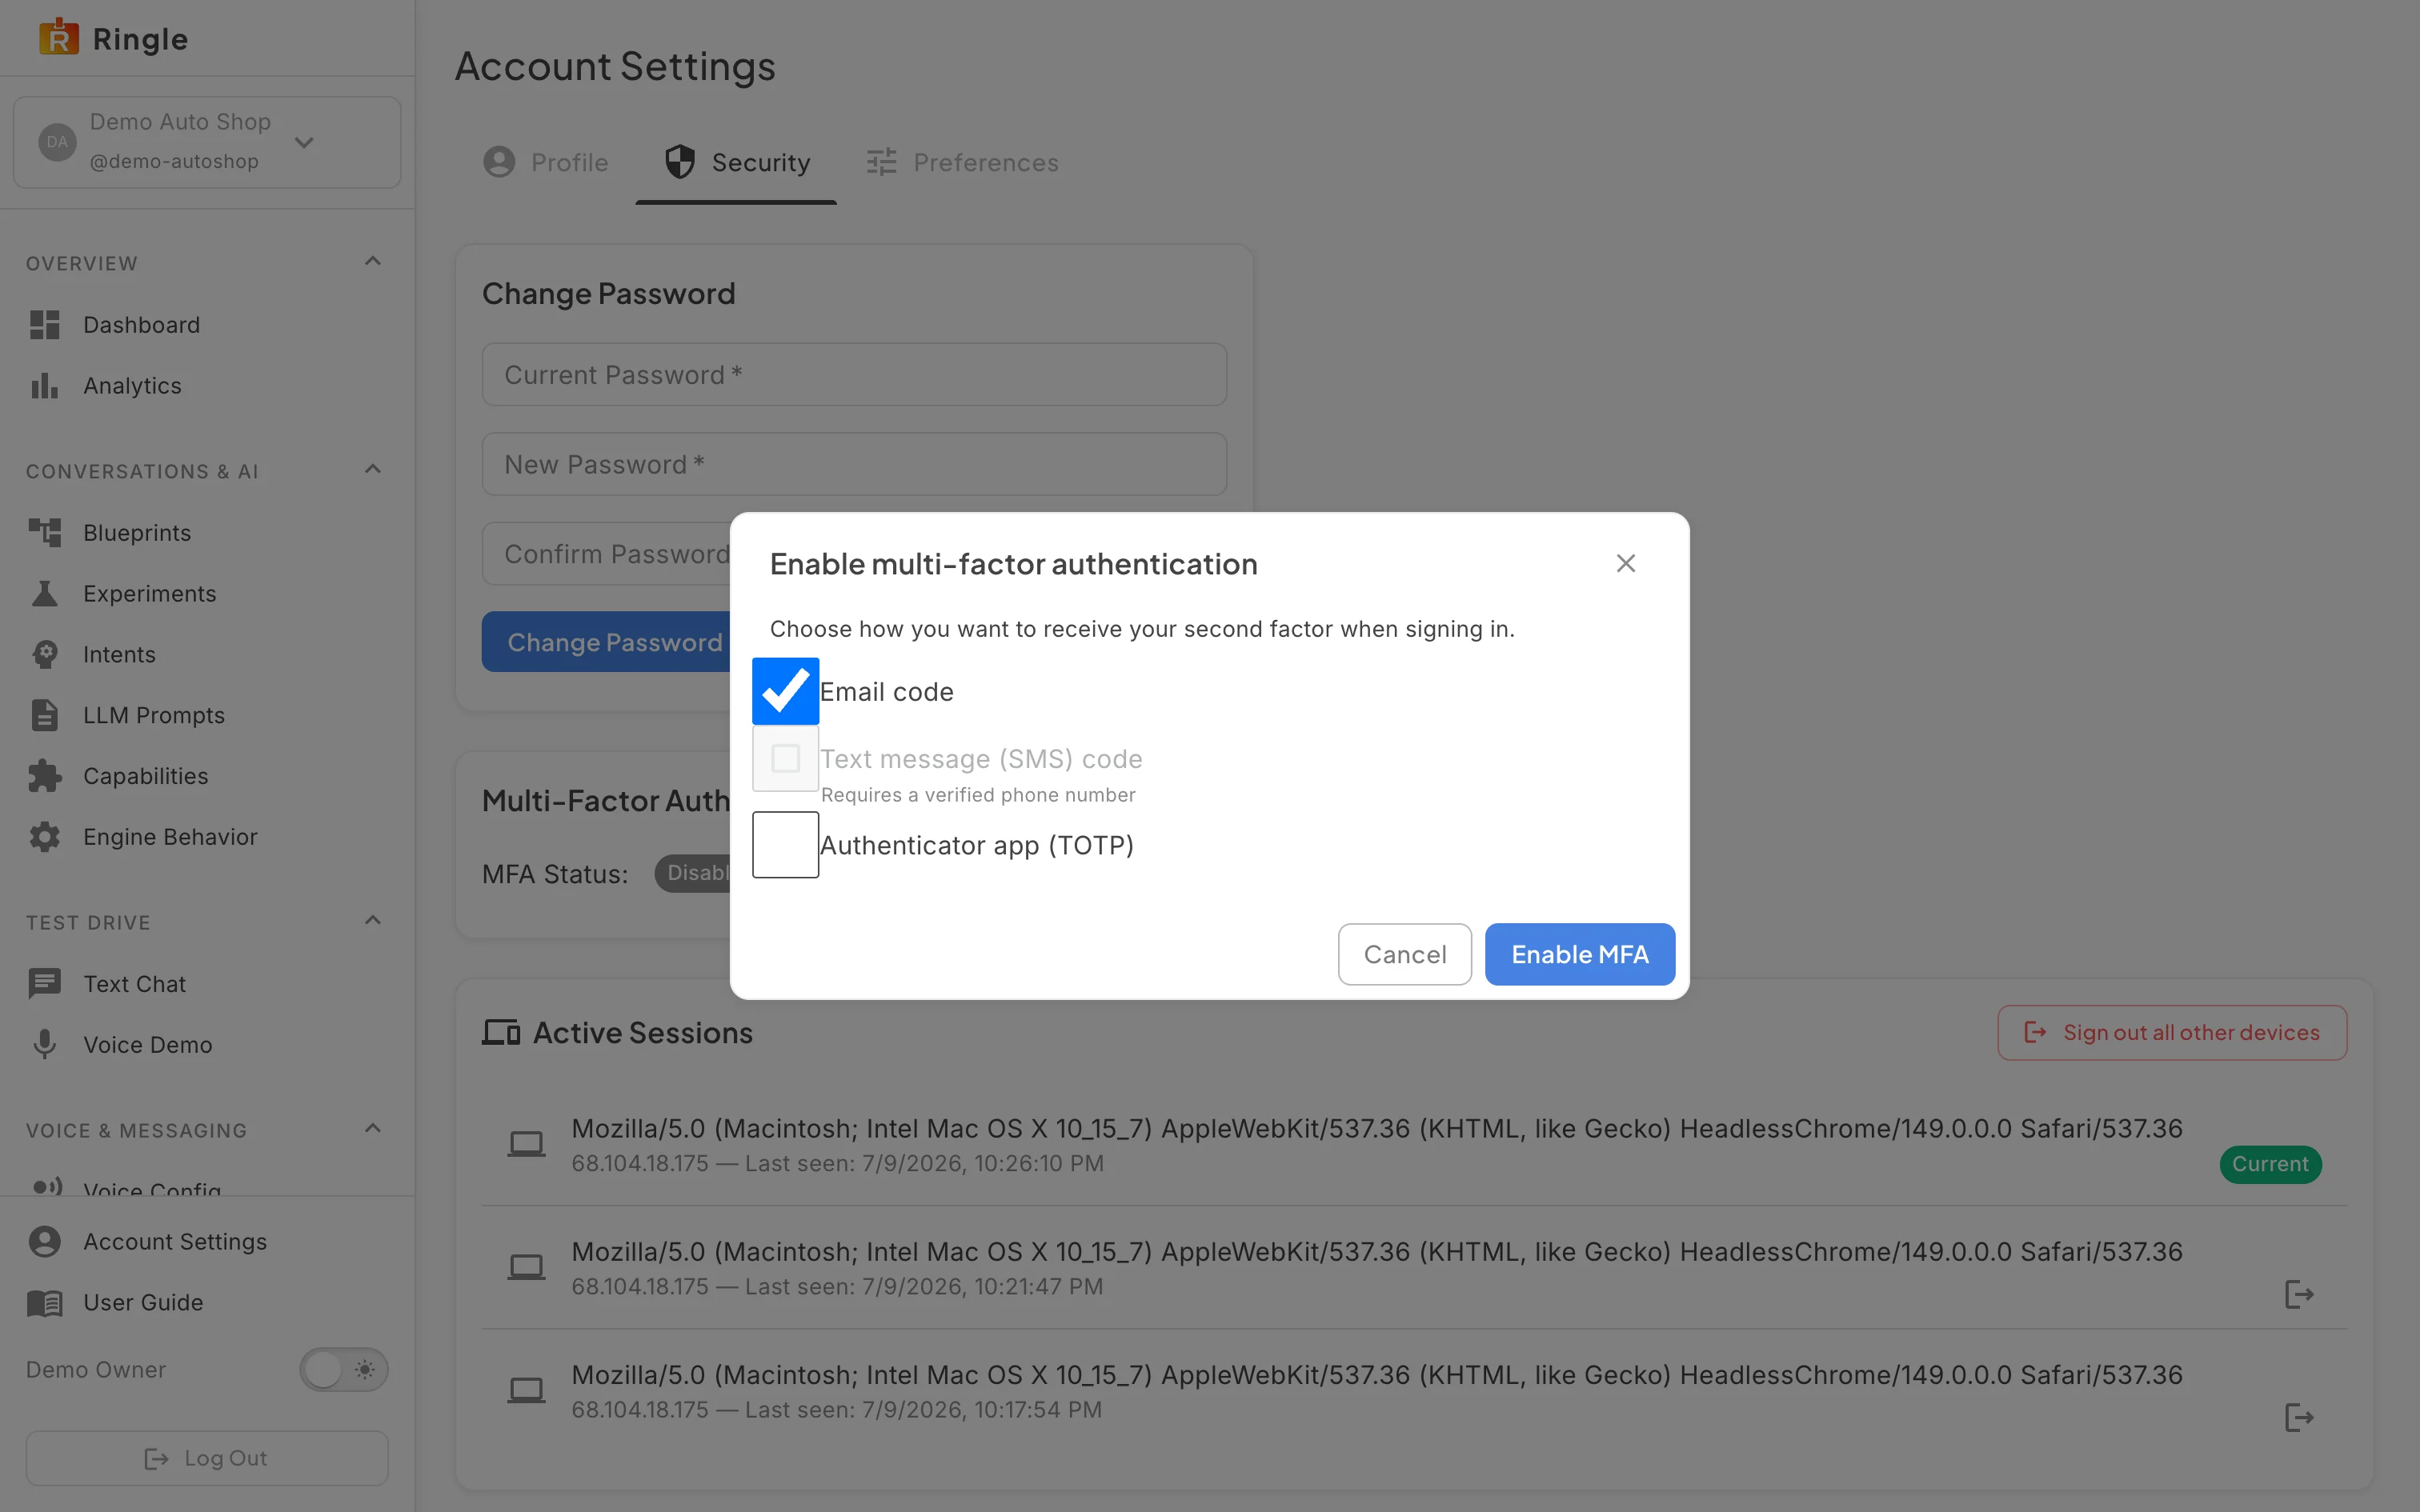
Action: Confirm, then click Enable MFA on the card to turn it on again.
What you should see: The “Enable multi-factor authentication” dialog asks how you want to receive your second factor: Email code (selected by default), Text message (SMS) code, which is greyed out until a phone number is verified on the account, or Authenticator app (TOTP). Pick one and click Enable MFA, or Cancel to leave MFA off.
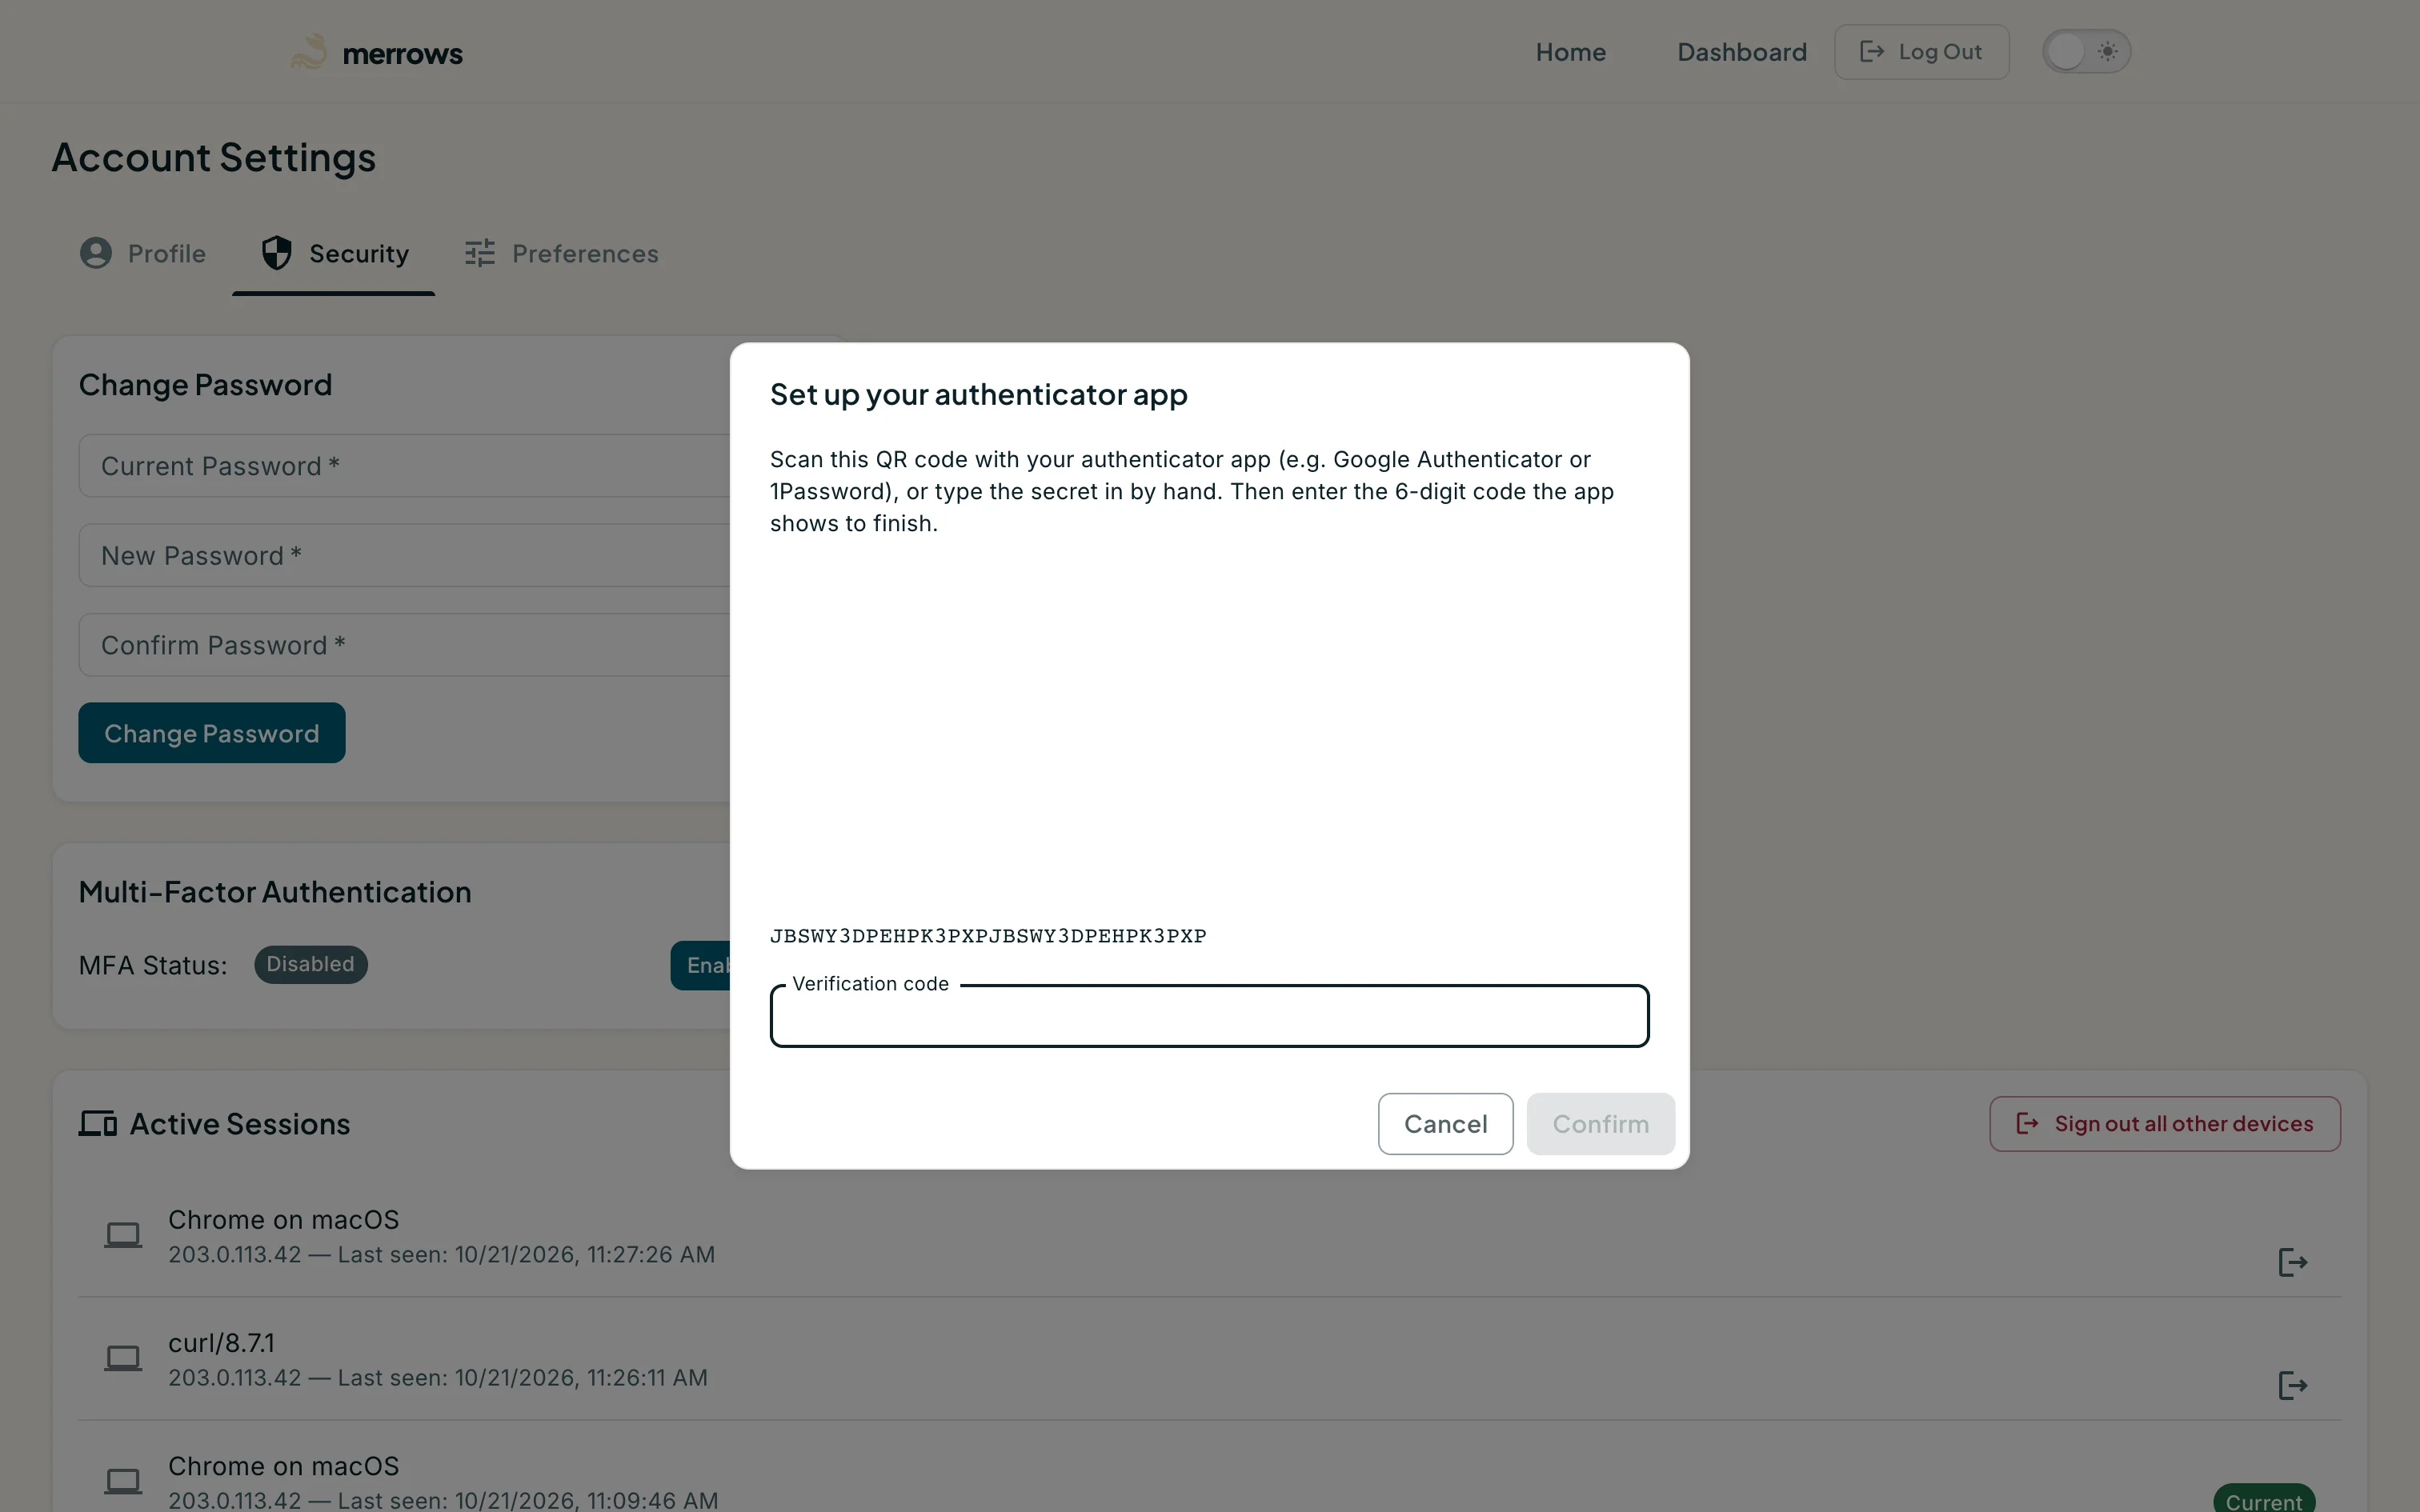
Action: Choose Authenticator app (TOTP) and click Enable MFA.
What you should see: The dialog moves to “Set up your authenticator app”. It shows a QR code to scan with an app such as Google Authenticator or 1Password, the same secret as text to type in by hand, and a Verification code field. The entry in your app is labelled Merrows. The method is not on until the next step proves the app works, so a mistyped secret cannot lock you out. The QR code and secret are blanked in this picture.
Action: Type the six-digit code your app shows and click Confirm.
What you should see: A “Multi-factor authentication enabled” notice appears on the card, the MFA Status chip reads Enabled and the button reads Disable MFA. From now on, signing in asks for a code after the password. A wrong code is refused and nothing changes; after five wrong codes in fifteen minutes the dialog asks you to wait.
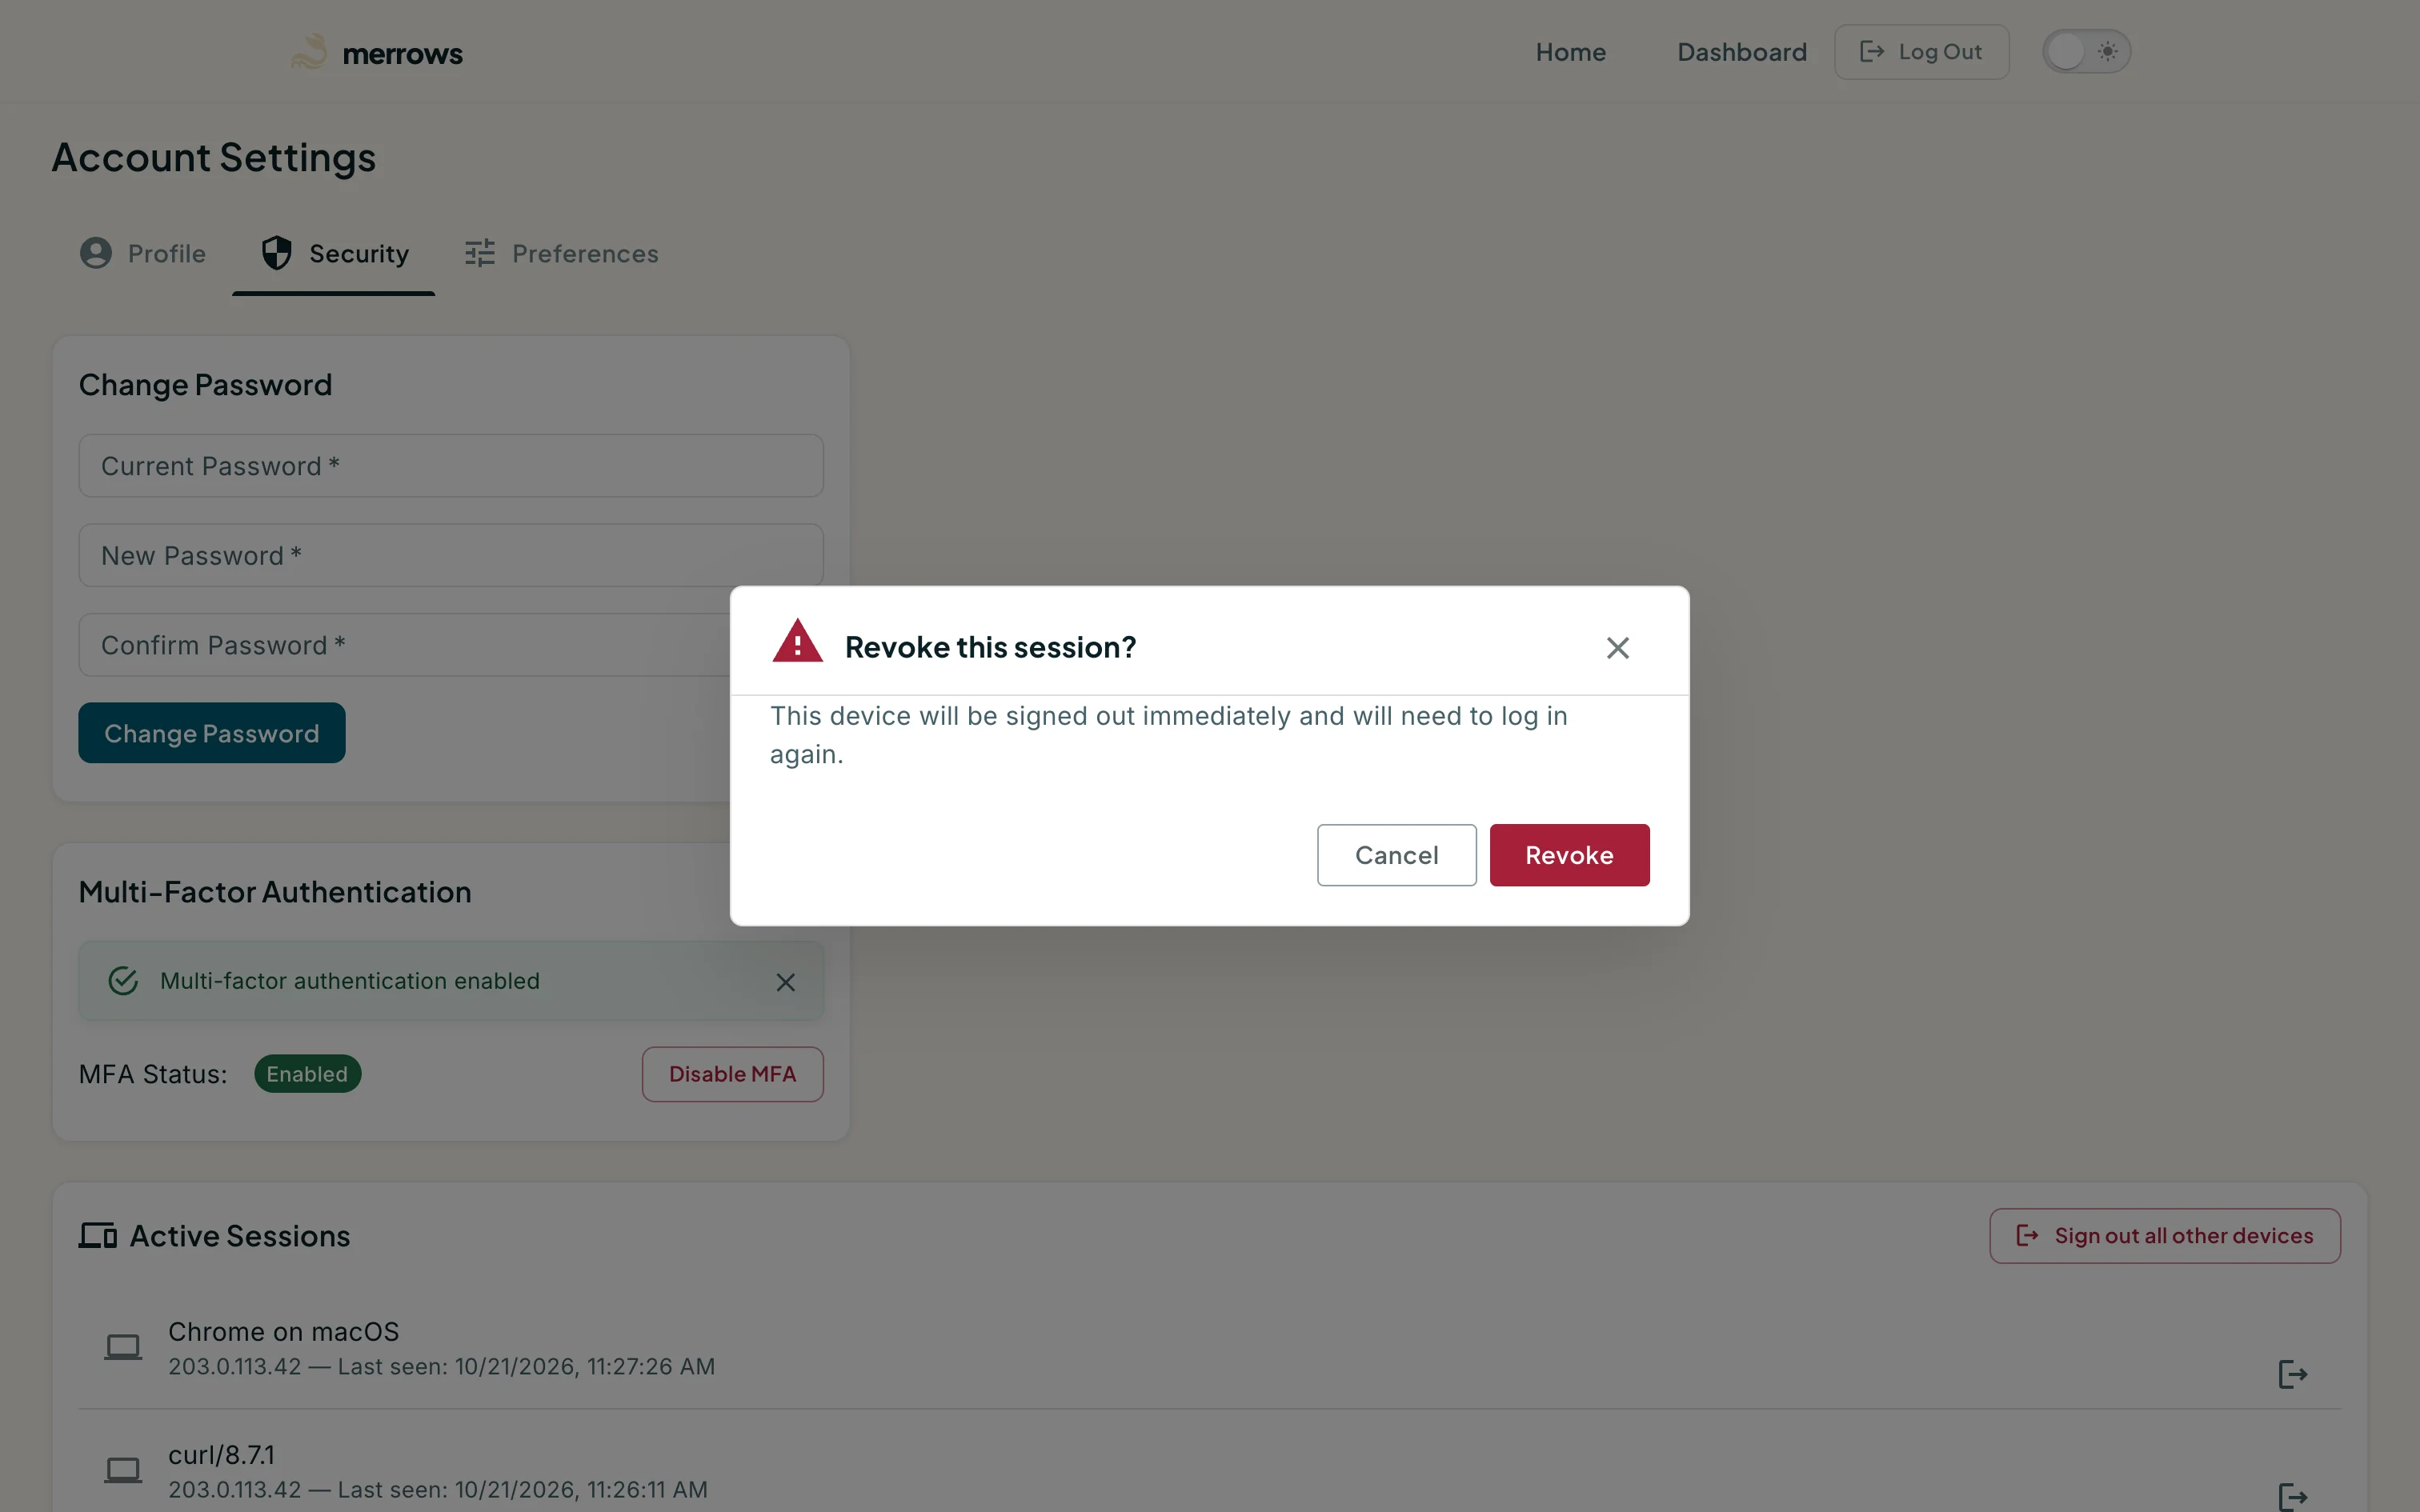
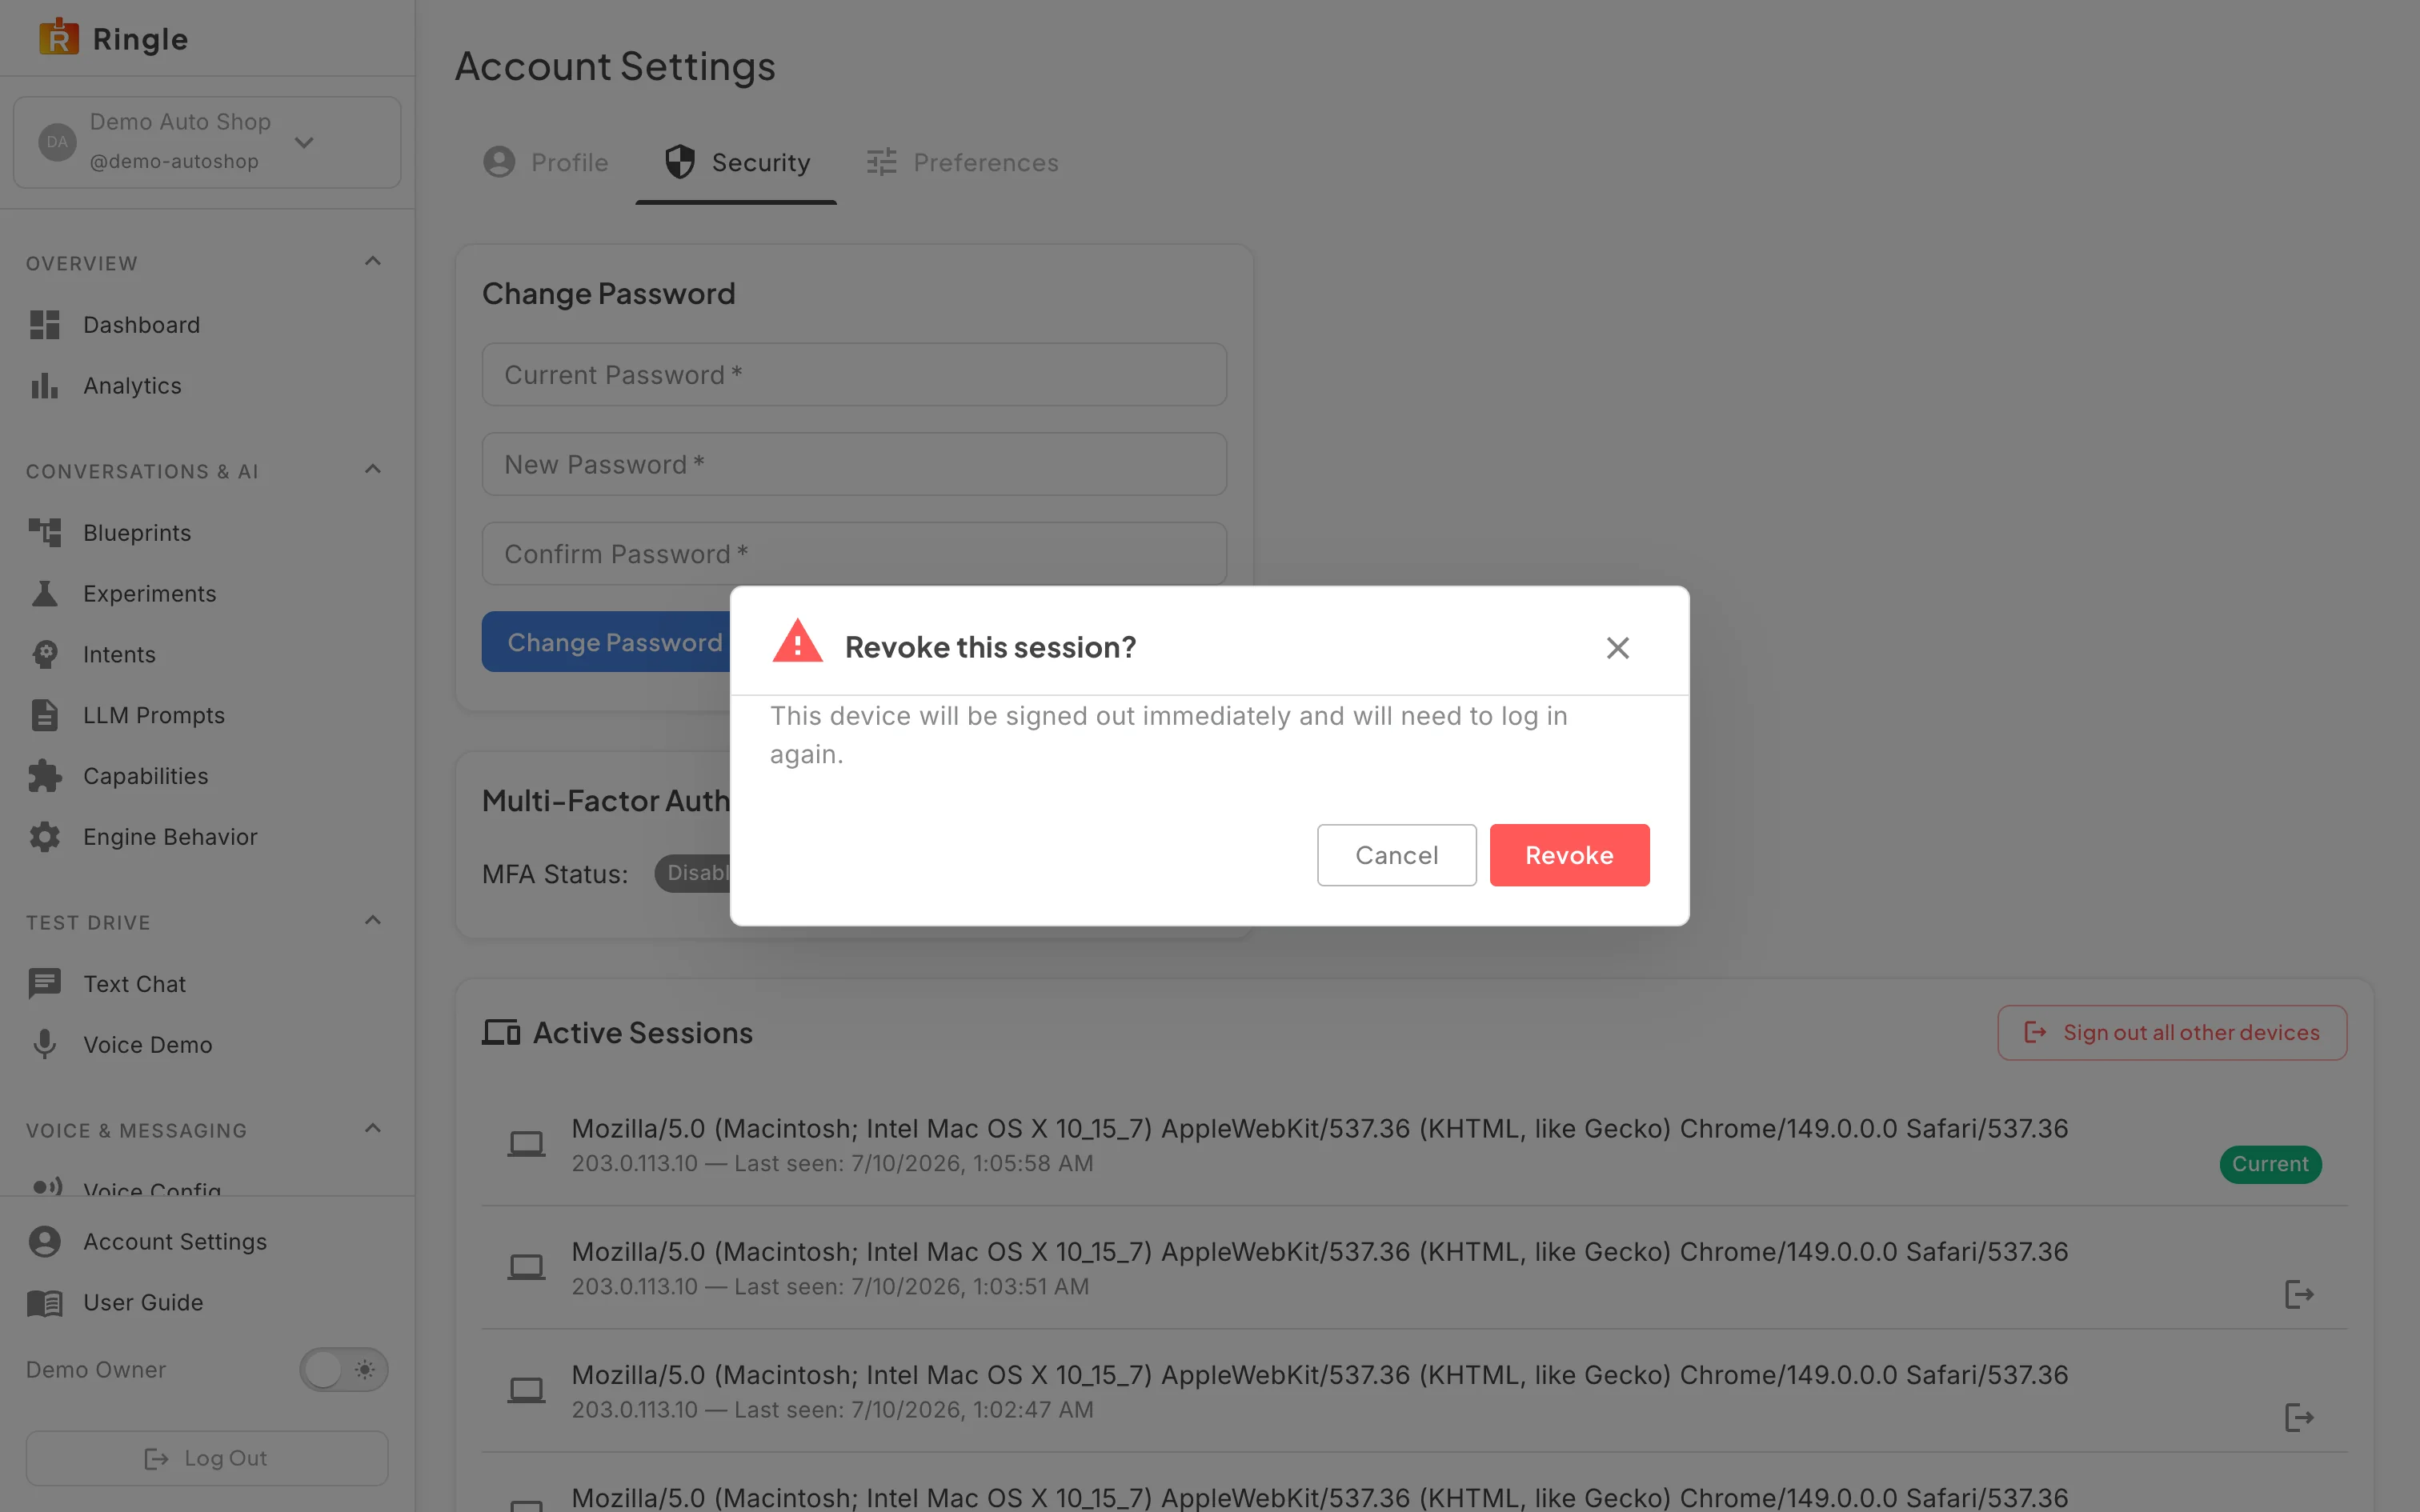
Action: In Active Sessions, click the revoke icon beside a device you no longer use.
What you should see: A confirmation names the device. Confirming signs that device out at once; it has to sign in again, with the code if MFA is on. “Sign out all other devices” does the same for every session except this one, after its own confirmation.